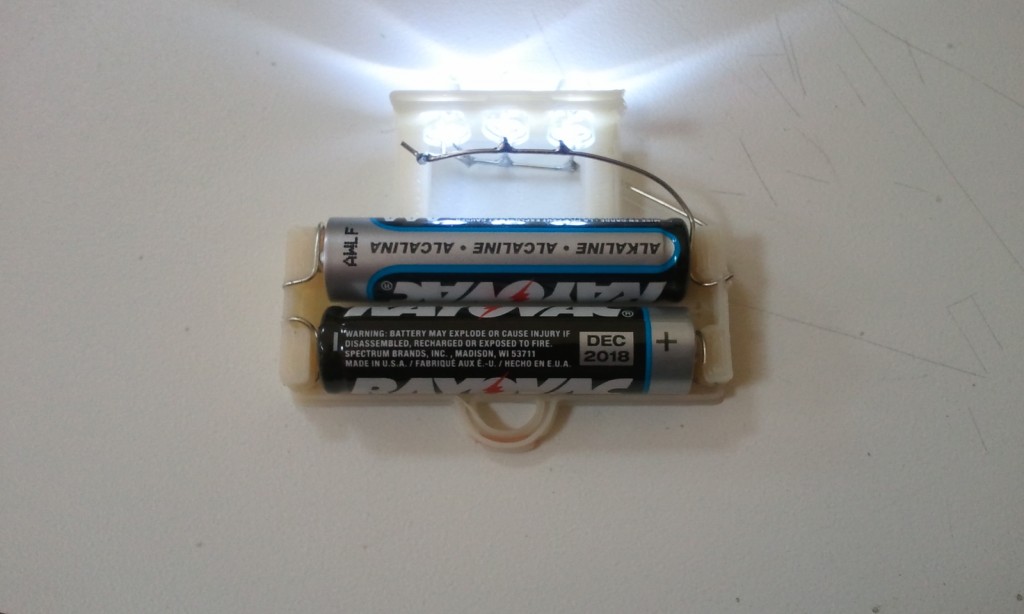
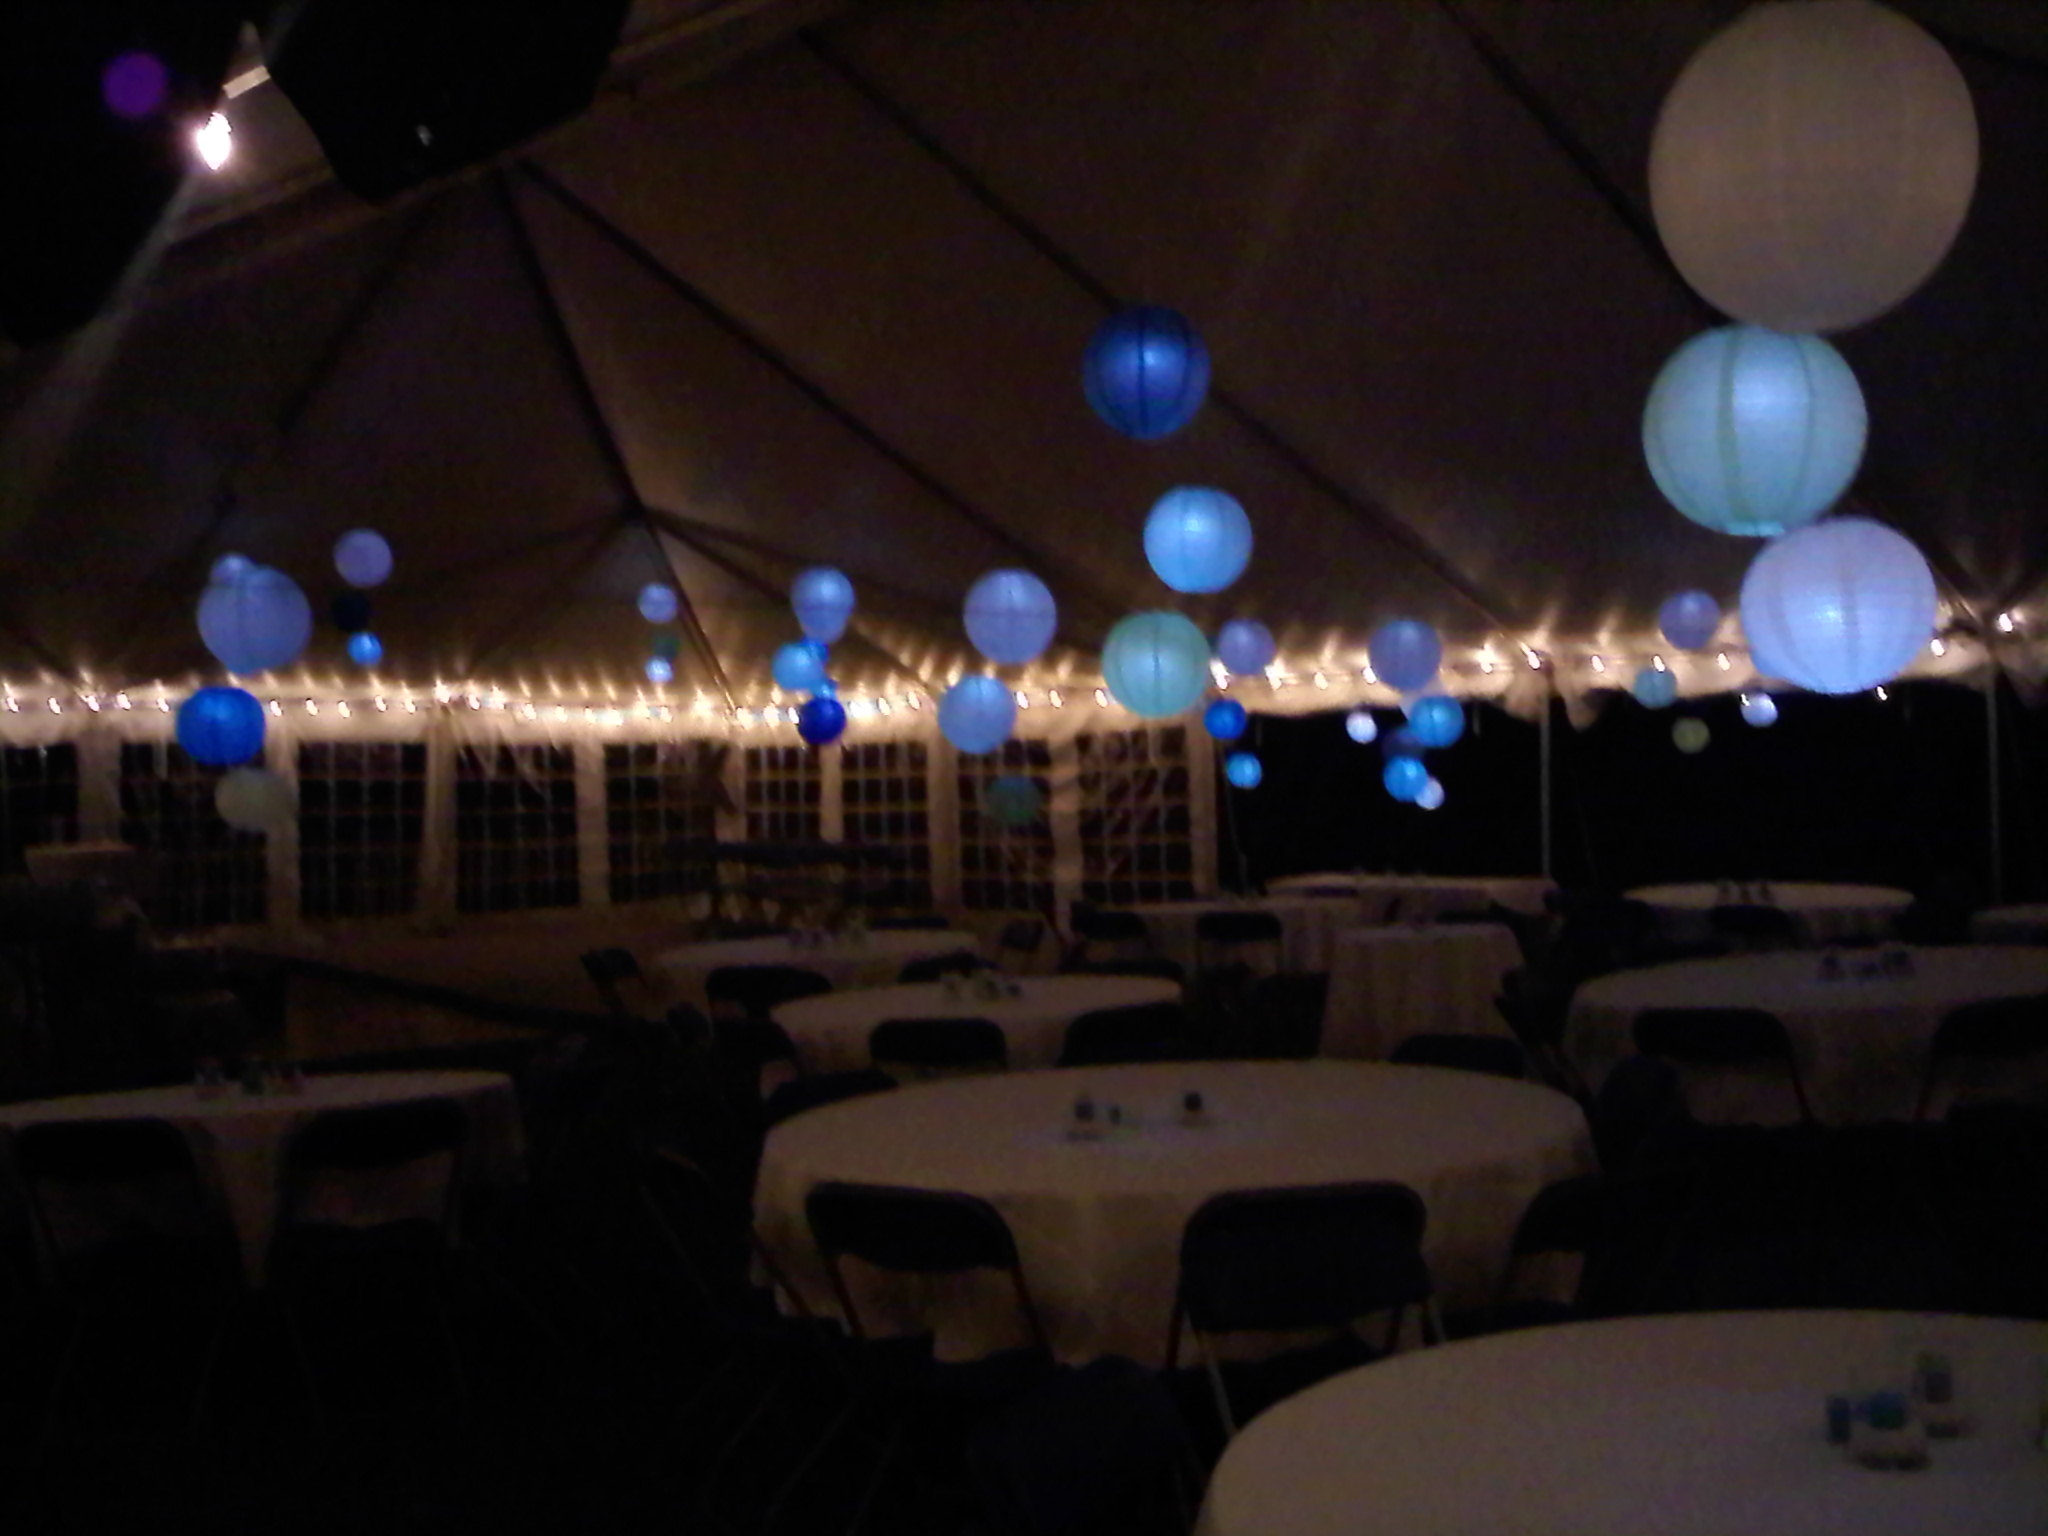
I got married a couple of weeks ago. We did all the planning / decoration ourselves. By we, or course, I mean my wife. One of the things she wanted to do was have paper lanterns suspended above the tables.
The initial plan was to use throwies, but I felt they wouldn’t give as much light as a commercial 3 LED solution. This led me to a fun, albeit time consuming project.
The commercial version boasts a 12 hour life, which probably means 6-8 hours at decent brightness. I was looking for something that we could set up the night before, so I settled on 3 LEDs powered by 2 AA batteries. (It turns out that this provided bright light for 3-4 days, with the LEDs still going after 1.5 weeks)
The Design
The over-arching design constraint was to have the lights held pretty high within the lantern. Initially I had thought they would be in the middle, but because LED light radiates out in a cone, having them higher leads to more of the lantern being lit.
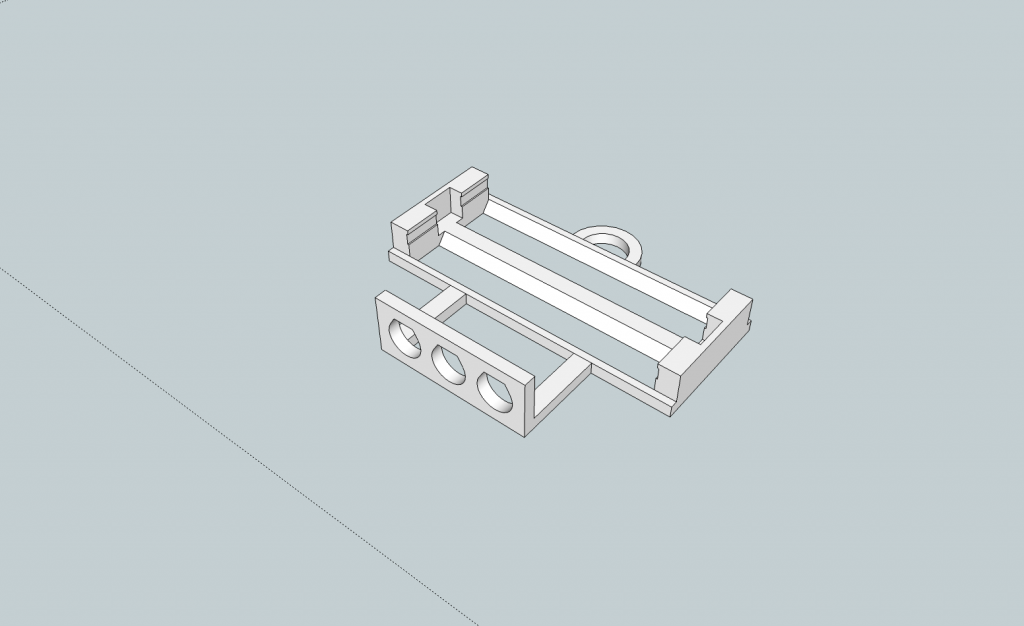
constraint #2 came from the fact that I decided to 3D print the frame. Since I was making A lot of these (75) I needed to make them as quickly as possible. This meant a skeletal design using as little plastic as possible. Here’s what I came up with:
There’s just a bare minimum of plastic there. most of the structural integrity comes from the batteries themselves. By making the batteries parallel to the ground I was also able to get the lights a little higher than if they had been perpendicular.
Construction
Designing / printing of the frame was only the beginning. I was able to print 4 holders at a time on sprout’s thingomatic. During the 38 minute print, I would wire up the previously printed set. It took me a while to settle on an efficient assembly technique, but here’s what I wound up with (mouse over for description, click for larger image):
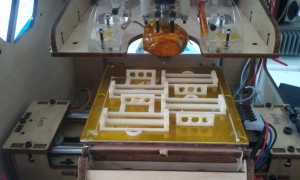
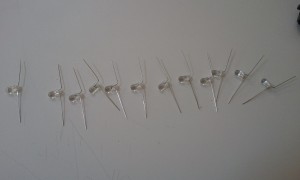
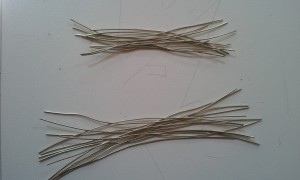
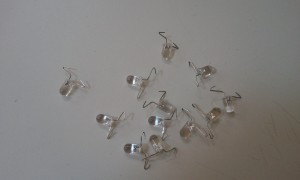
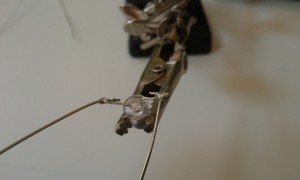
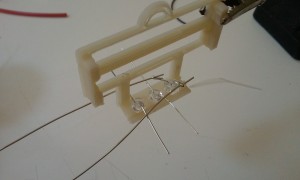
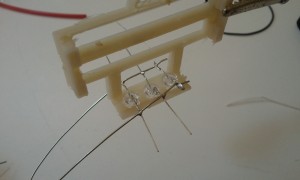
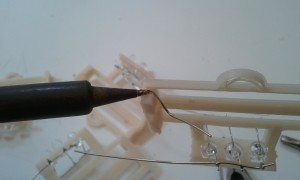
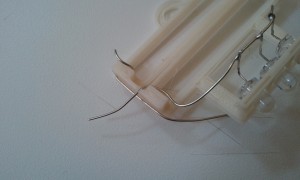
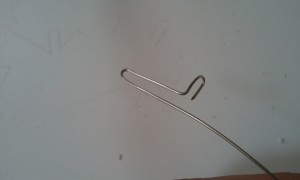
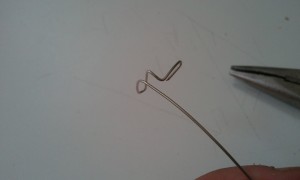
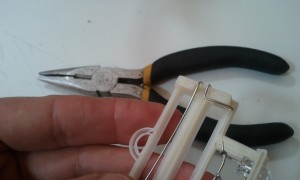
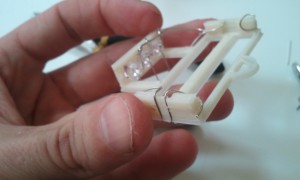
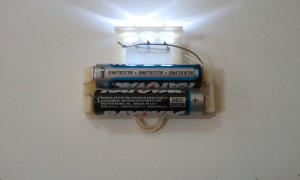
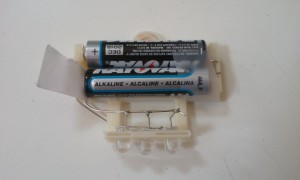
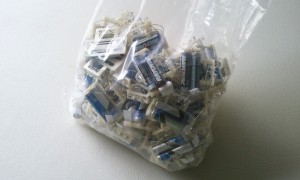
Since these were designed to be used only once, and they weren’t going to be moving around a lot, I was ok just melting loops of wire into the ABS frame. Springs and plates would have been more robust, but also more costly and time consuming.
Once the unit was assembled, I inserted the batteries using a piece of paper to break the circuit prior to installation. While not technically needed, I also secured the batteries with tape so they wouldn’t fall out during transport.
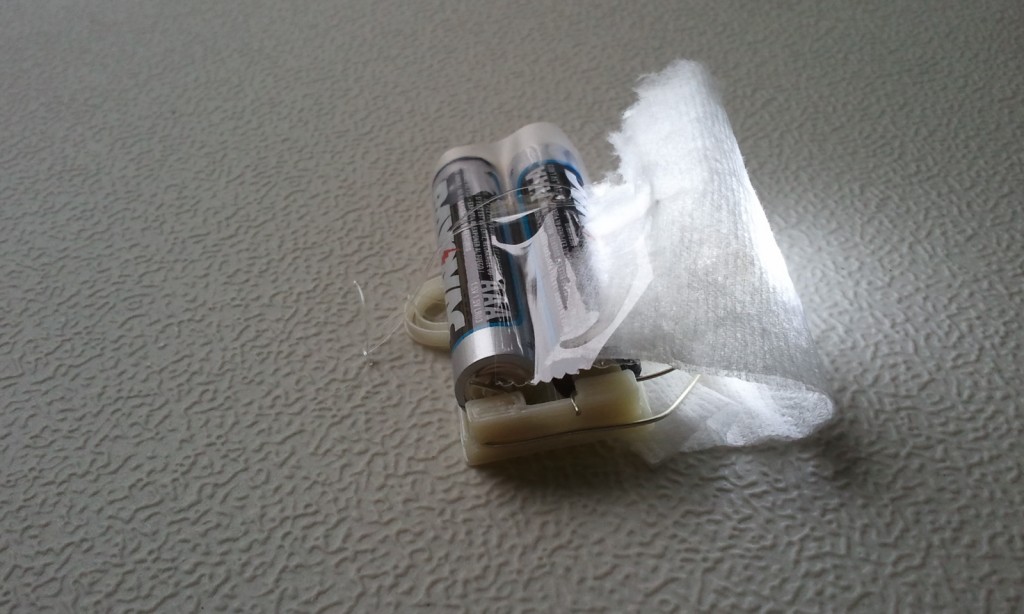
One design wrinkle I ran across during setup: the 3 LED configuration created weird hot-spots on the sides of the lanterns. A single-ply piece of kleenex taped over the lights acted as a diffuser. It slightly diminished the intensity of the light, but it provided that soft glow we were after.
Results
I think they turned out great. They produced the desired lighting effect, and I got many “wait… you did what?” responses. In the end it took me about 20min per unit. considering I made 75 of these it was a complete commercial flop. BUT it’s always fun to exercise the design muscles, and I was able to contribute something personal to our celebrations.
UPDATE: Part has been uploaded to Thingiverse
Tags: Makerbot


All that melting of the wires into the holders was overkill. Wrapping the wires a couple of times around the holder to get a good contact with the batteries would have been enough, and a lot quicker.I have found that that’s sufficient in the projects I have done.
Ah, next project.
Interesting. I suppose I could have designed the battery support posts differently to facilitate wrapping. As you said: next time.
i’m kinda surprised by no resistor. 3 LEDs in parallel, no resistance, man that’s gotta be some current draw. I understand batteries can explode if you suck current higher than the battery’s rating. I’d say 100 ohms just to be safe…
yeah I may have lucked out with the LEDs I was using (don’t have a datasheet or anything. they were lying around) but here it is a month later and they’re still going. no exploded batteries yet!