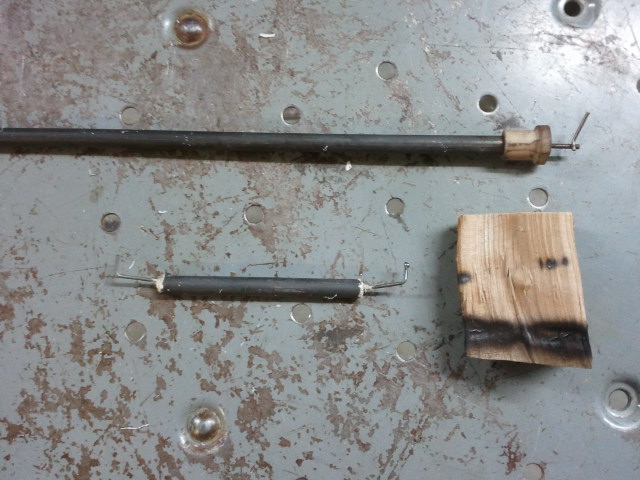
A few years ago I made a BBQ smoke generator. I was fairly happy with the design, but felt that for the “next time” I would make a few changes.
One of my main issues was the size. I really wanted to make it smaller, but I didn’t want to pay for a small cartridge heater.
It occurred to me a couple of days ago that I might be able to modify a stock toaster-oven heating element to make a smaller heater. If I cut out a small section and drove it at a proportionally smaller voltage, I wondered, could I get a small heater with the same temperature as the big boy? It turns out that the answer is yes.
I went through a few fits and starts getting this thing to work. My main issue is that I’m still learning to weld, and welding wire requires a lot of finesse. I’m not going to bother with the trials and tribulations though. Here’s how I made a custom heating element:
Cut to Length

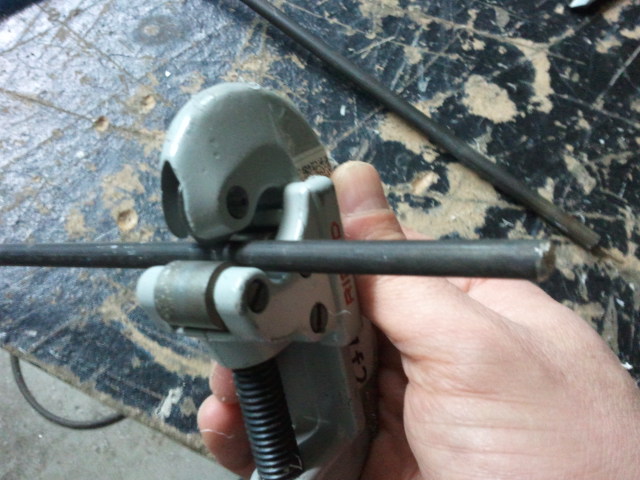
A heating element is a nichrome coil embedded in a steel tube using ceramic. In a toaster-oven they wire 2 in series, so each element is designed to see 60V. I had a 12V power supply, so I wanted to use 1/5 of the total element length. A pipe cutter made quick work of the cuts.
Ream

I needed to attach metal contacts to the wire. To give myself enough wire for a bond, and to have room to support the contact, some free space would be required. A metal file and some elbow grease left me with a 1/4″ cavity at each end of my cut section.
Weld
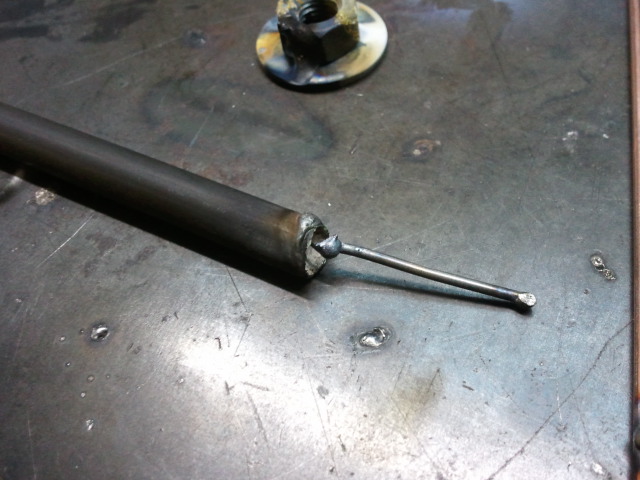
Attaching things to nichrome is a tricky proposition. Because it gets so hot you can’t use solder, and mechanical connections are unreliable. I decided TIG welding was the way to go.

Easy in theory, blindingly difficult (for me) in practice. In the end though, welding for 250mS at the lowest setting created a permanent bond bond between contact and wire.
Insulate

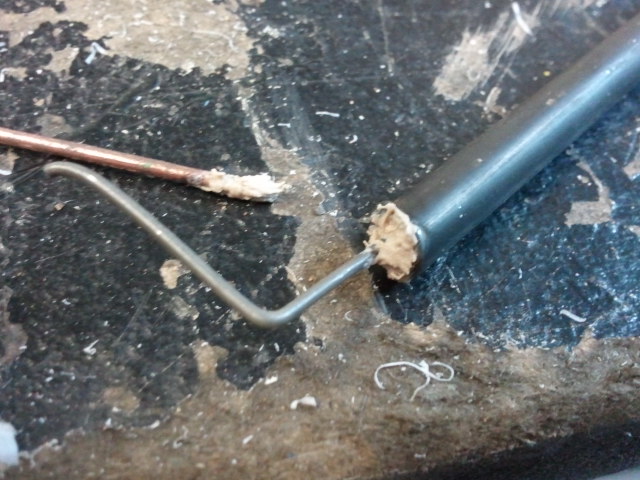
To keep this welded bond electrically isolated, and to give the contact some rigidity, I filled the previously-created cavity with furnace cement.

Next time around I might do this in several small additions rather than all at once. I think that would give me a more solid fill.
Burn Baby Burn

It actually works! I applied 12V to the element and was easily able to make some wood smoke. It didn’t get red-hot, but I suspect this is because my cut section was a bit long. At any rate, I’m really excited at the prospect of making inexpensive small heaters for use in my projects. I should probably get some more welding practice first though.


Nice, would also work for etchant tanks etc if put under glass with an inert oil such as silicone as the heat carrier.
Awesome DIY info. I didnot think to reuse like that. Thanks
Better yet use it to make your own hotend for a Reprap. 😀