
Some serious progress has been made. We have smoke! It’s nowhere near done, but the results are encouraging. Here’s what’s been done since the last post.
Toaster Tear-down
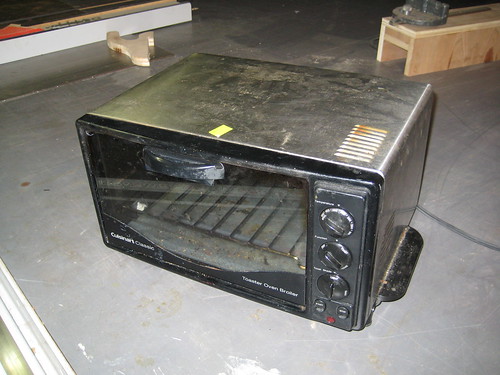
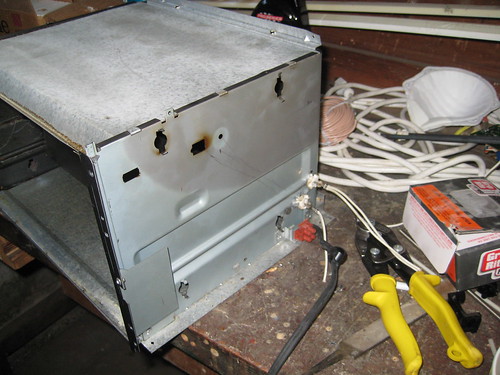
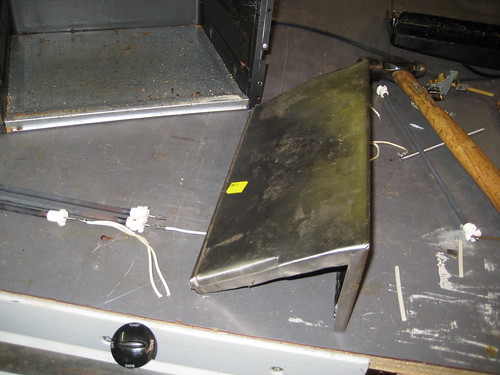
The toaster I used cost me $10 at the thrift store. The first order of business was to take everything apart. 20 minutes with a screwdriver and some wire cutters, and I was left with the components I needed:
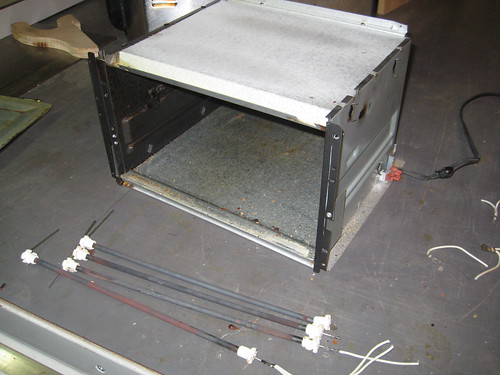
- A heat-resistant box
- 2 heating elements
- A thermostat
- An extra piece of sheet metal for the ramp (formerly the toaster’s outer shell)
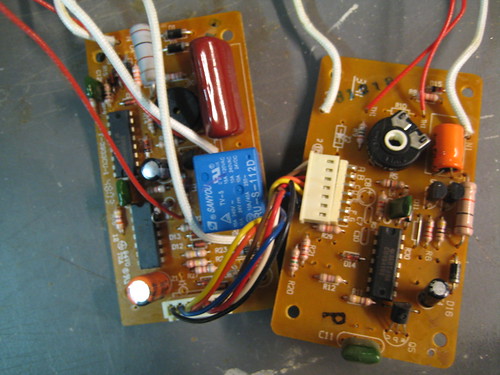
All that stuff is in every toaster, and it’s all I really needed. This was a high-end model apparently, so there was a bunch of extra electronic components in there too. Lots of goodies for future projects. I won’t bother listing them all, but take a look at this picture. Not a bad haul for $10!
Heating Element Relocation
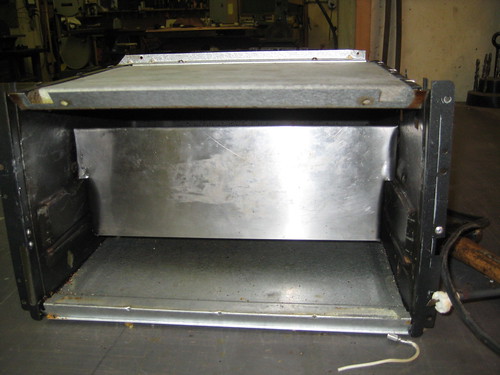
With everything apart, I could start construction. Per the design, the heating elements were relocated to the bottom corner of the chamber. I needed new holes, and as you can see from the picture, I did a terrible job. I should’ve used a sheet-metal drill. Instead I used tin-snips. Oh well. The holes are in the right place, and the heating elements fit.
Ramp Construction
The sheet metal that used to form the oven’s outer shell was cut and bent to form the wood-feed ramp. The inner walls of the box are contoured, so it took several tries to get something that fit nicely.
Thermostat Relocation
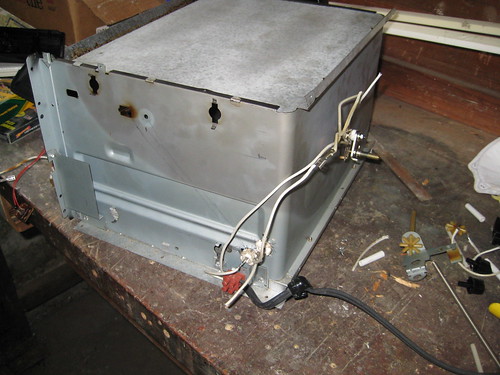
The last thing to do was move the thermostat. Since all the heat was going to be localized in a new place, I figured the thermostat should be nearer to it. I made a new hole in the center of the back, and mounted it there.
Time to Test!

Other than worrying about electrocution and burns, the testing phase was pretty straight forward:
- I put 3 pieces of apple wood on the ramp so they were touching the heater.
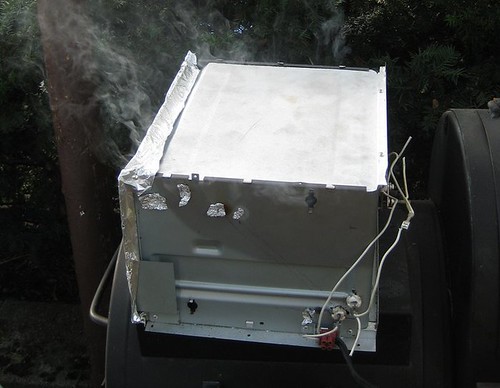
- Most of the holes in the hot boxwere then sealed with aluminum foil. I left holes for air intake and exhaust.
- After plugging it in, it took maybe 10 minutes to find the right thermostat setting. I slowly upped the temperature until there was a constant flow of smoke.
- Beyond that it was just sitting around and basking in the smokey aroma.
Results
Of course there’s lots of work still to be done, but I’m really happy with this first attempt.
The Positive:
- Those 3 pieces of applewood gave me 5 hours of smoke. I only had to intervene twice; shaking the box a little to get the wood to the heaters. Other than that it was continuous, automatic smoke!
Room for improvement:
- The smoke density wasn’t constant at all. When the heaters were on there was a lot more smoke formation (Heat + increased convective airflow.) When they we off the smoke tapered off.
- Needing to manually shake the ramp violates one of the main design criteria I’m shooting for. This thing should “operate unattended.”
- Currently the thermostat is out in the open, making it susceptible to ambient temperature changes.
- It’s a little dangerous. There’s exposed 120VAC all over the place.