I’ve played around with printing multiple colors using a single extruder, but by and large all the multi-color action was restricted to a single layer. There’s a good reason for this: every color change takes time, and having 2 or more colors run throughout the part would require a color change ON EVERY LAYER.
But I had to try. I had a great idea: a fairly understated bottle opener with different color text embedded on each side. To the uninitiated it’s a neat little thing, but to people who know 3D printing its a: “wait, what? how did you do that?”
Well, here’s “how I did that.” It took a LOT of time. I didn’t call it “The Saturday Killer” for nothing.
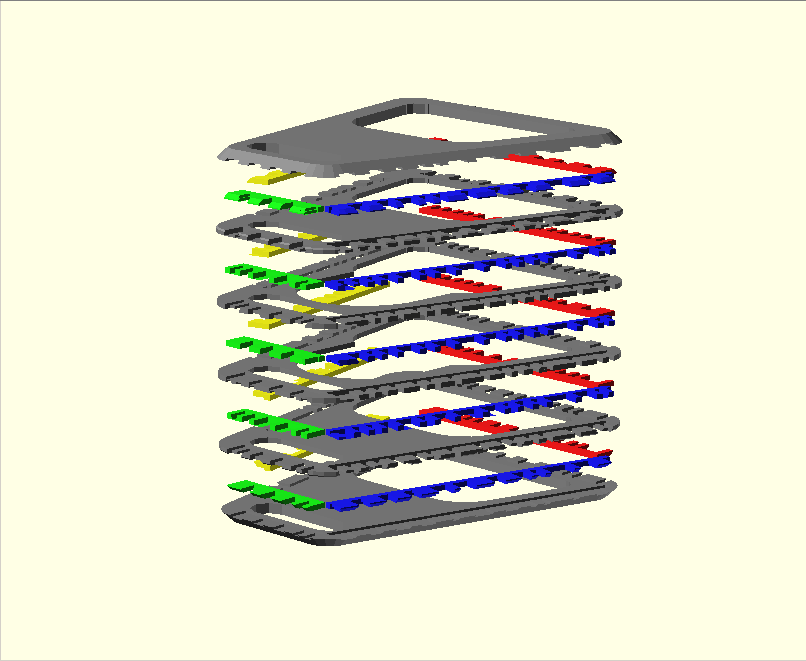
The Basic Idea:
Create a bottle opener with some multi-color text on the side. I chose a reference to the classic Simpsons line: “Beer. Cause Of. Solution To. Problems.” I knew it would be a complicated task, but it turned out to be even more complicated than I thought.
Step 1: Generate a separate STL for each color
Having already created the opener in OpenSCAD, this step was straight-forward. Position text on the sides (more on the font later,)
…use the Difference Command to create an opener with word holes,
…and use the intersection command to get a text object to fill each of those holes.
Step 2: Split each STL into printable segments
For the different colors to dovetail correctly, they can only be printed 2 layers at a time. To split the objects from step 1 into two-layer slices I used the difference command to remove all but a 2 layer section.
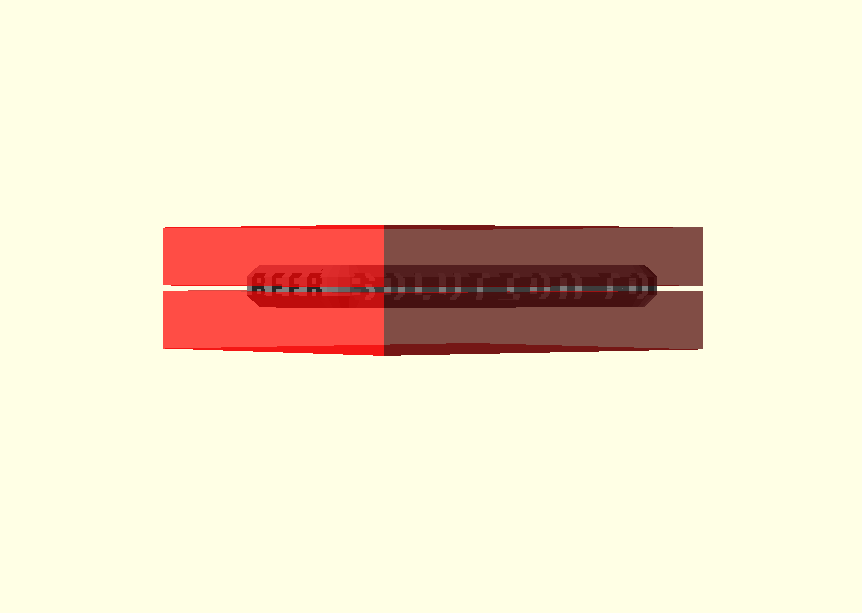
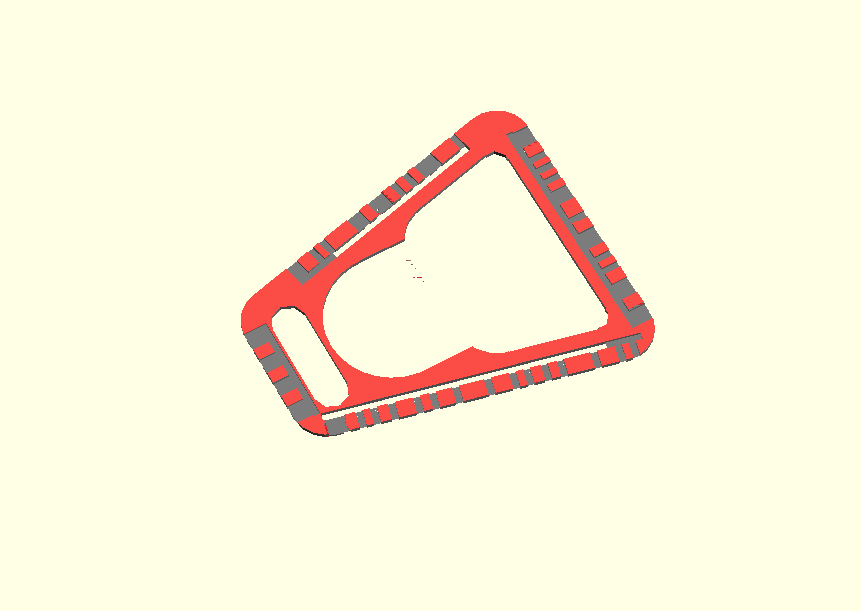
I then Generated an STL, moved the cubes, and repeated until I had all my slices.
Step 3: !#@$%@#$: Realize that this is way more complicated than you first thought.
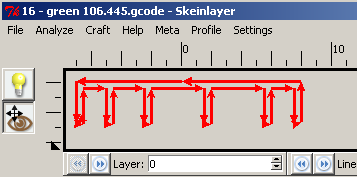
Because you’re interlacing two or more STLs, how things are skeined becomes really important. If you’ve got a curve in the Z direction, or a transition that happens within a layer, things may skein one way for one color, but in a different way for the mating color.
So I needed to do a LOT more work, mainly on the text. I tried using a stock thingiverse font at first, but all the rounded corners were a killer, and I couldn’t get it to size correctly to an even number of layers. So I rolled my own:
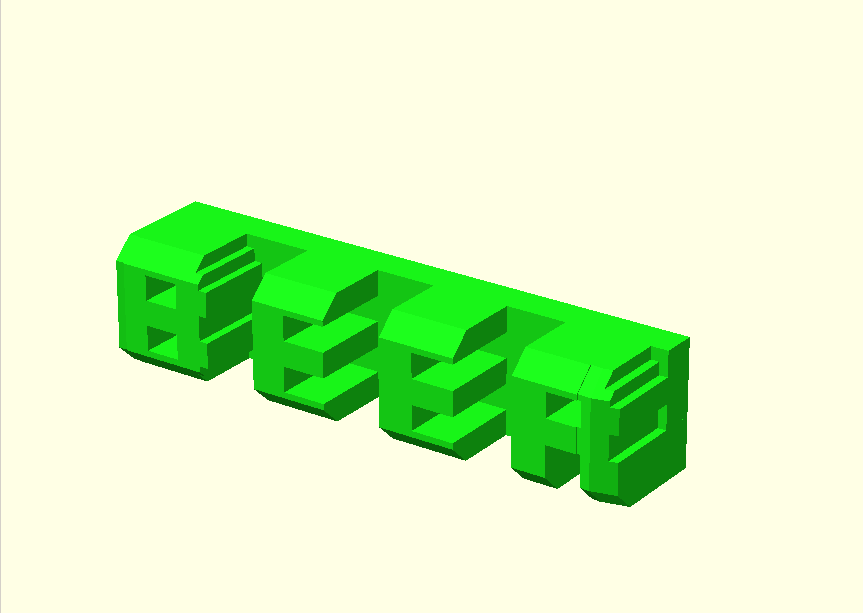
If you look closely you’ll see that the text is blocky. This was done to confuse Skeinforge a little as possible. There are no diagonals or curves anywhere, and all transitions and openings take into account the layer thickness, as well as the width of the extrusion. This way there’s less confusion about how much plastic goes where, and the different colors are more likely to dovetail correctly.
Another thing that I added was a solid bar behind all the text. This caused the tool path to be much more continuous, resulting in nice, smooth letters.
Step 4: Actually Print
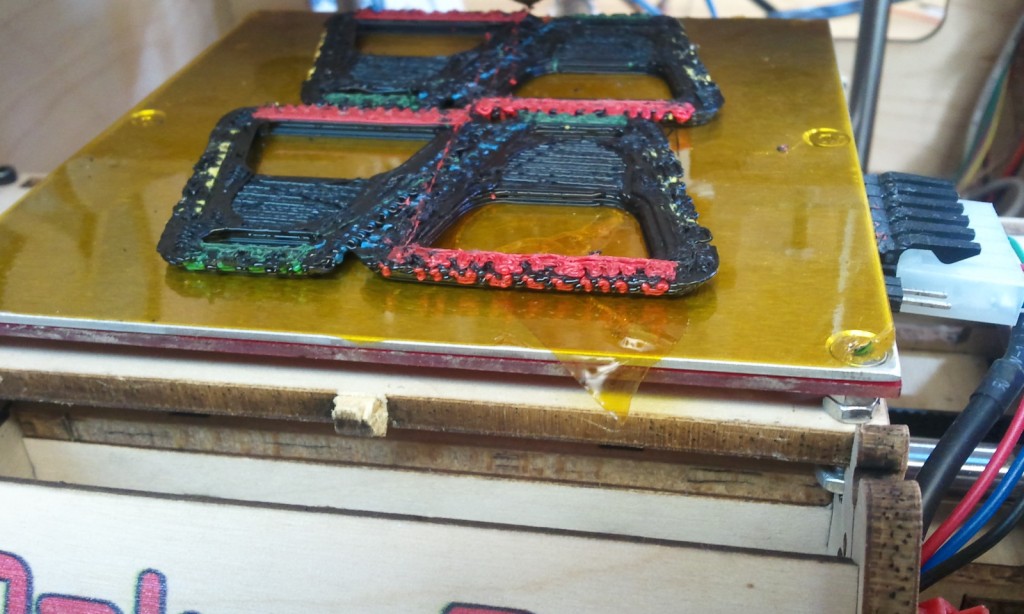
Now that all these parts were created they just needed to be printed out sequentially, with the Z-offset being adjusted at the appropriate time. My main aha moment during this process was that you need to turn off raft when skeining all but the first print, otherwise you get way too much plastic laid down.
I -of course- learned this the hard way. I first tried printing 4 openers at a time, and by the time I got to the middle of the opener there was so much plastic that the extruder started to catch leading to misalignment.
I scrapped that print and started printing a single opener, realizing the raft thing just after I started. The results were much better:
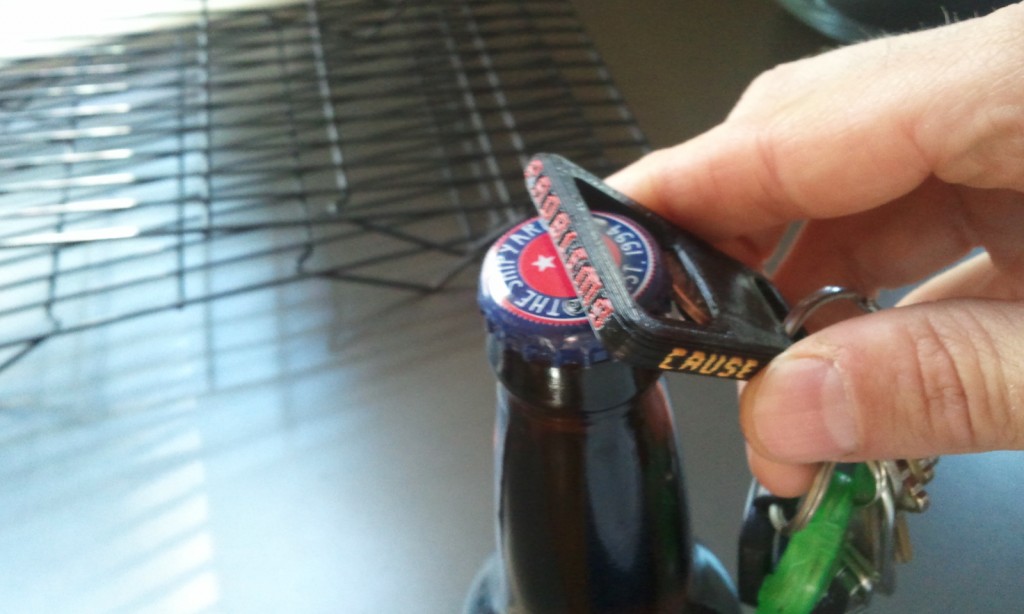
Step 5: Enjoy
I’m really proud of this thing, but I spent WAY too much time creating it. Hopefully this quick post did a good-enough job of explaining the process. I wanted to share this project, but for my sanity I just need to be DONE.
opener: http://www.thingiverse.com/thing:12592
font: http://thingiverse.com/thing:12618
Tags: Makerbot





well done sir!
[…] After drooling over the Makerbot dual-head extruder, [Brett] decided to get off his duff and make a proper multi-color print. […]
This is a very impressive color 3D print! 🙂
[…] After drooling over the Makerbot dual-head extruder, [Brett] decided to get off his duff and make a proper multi-color print. […]