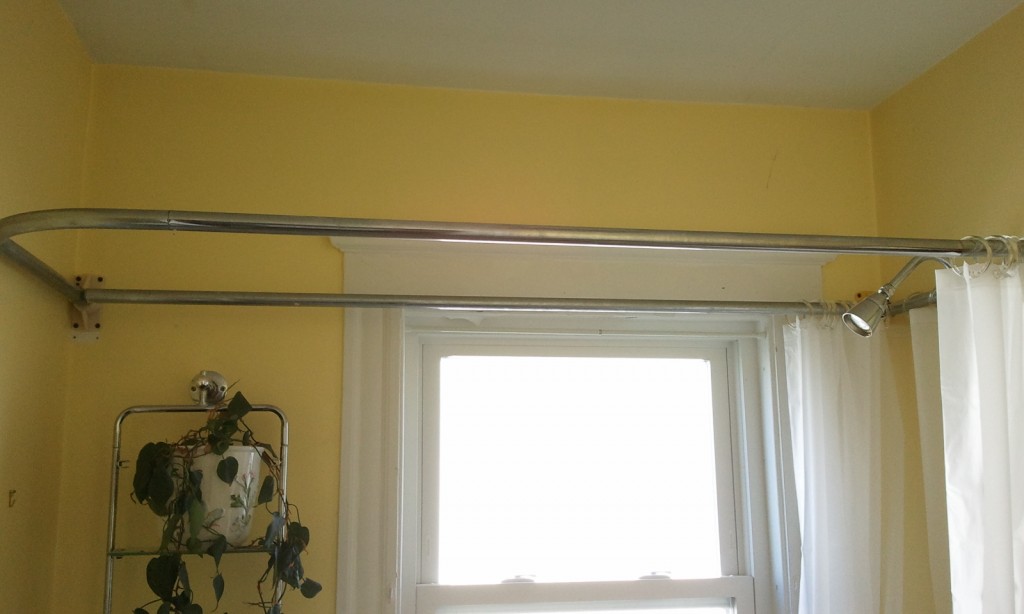
I’ve lived in my house for 2 years now. 2 weeks after we moved in, someone who shall remain nameless turned our 2 bathroom house into a 1.5 bath.
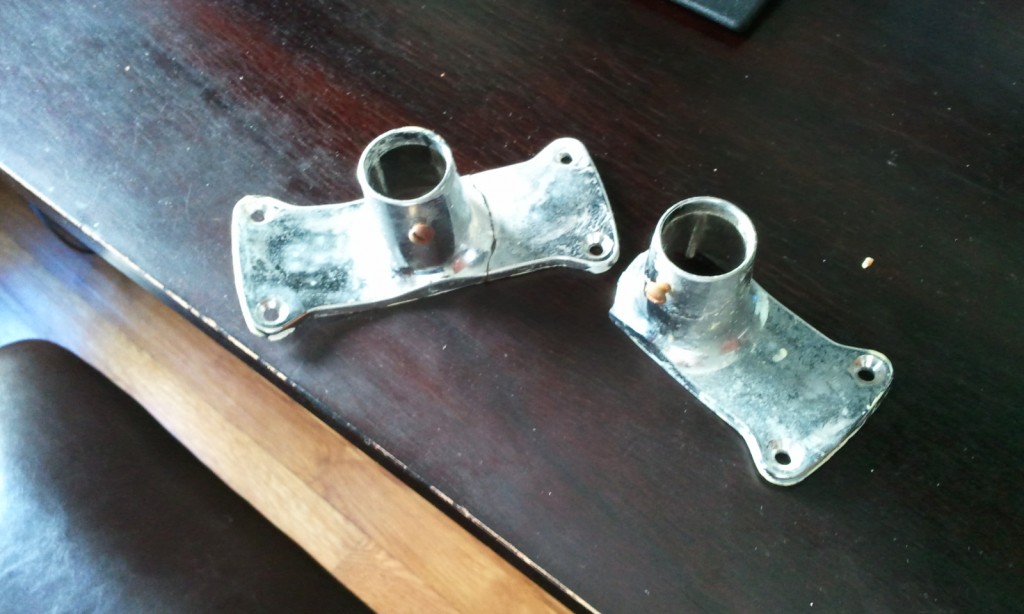
They were cleaning the bathroom (that’s how you know it wasn’t me.) While leaning on the D-Shaped shower curtain rod for support, the whole thing came down. Come to find out the support brackets were woefully inadequate.
“I should really do something about that…” but we only really NEEDED one shower, and you can’t buy the brackets separately, so I did nothing. I wasn’t going to spend $100 for a shower we’d never use.
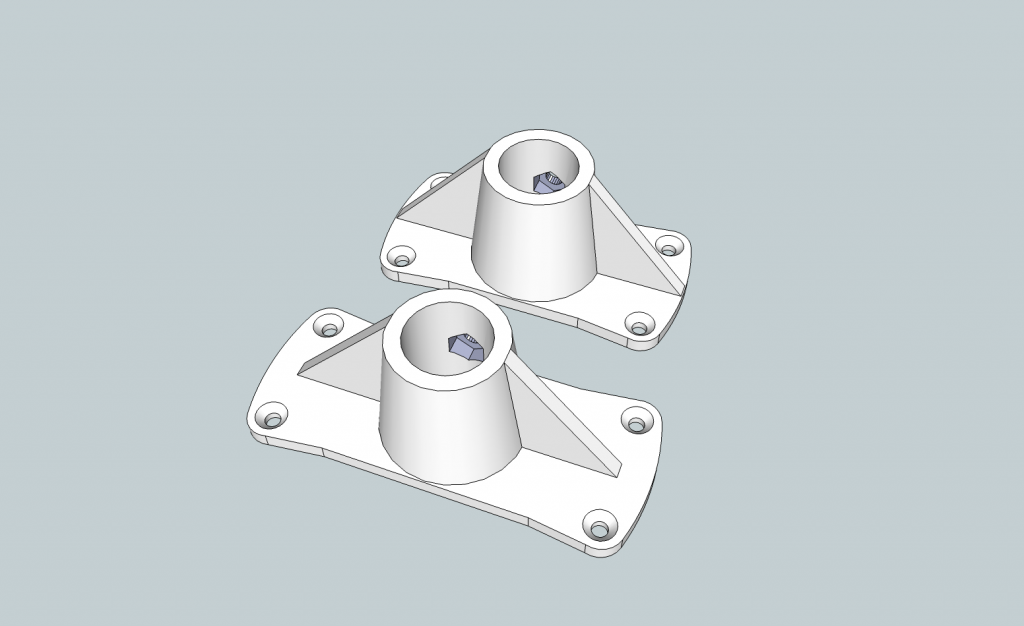
Flash forward to the present. We’re going to have a house guest staying with us for the next couple months. Now having 2 showers makes a lot of sense, but I still didn’t want to spend $100. So I set about designing a set of support brackets that would be a bit stronger.
I designed 2 sizes. one with the original hole spacing, and a smaller one in case the first guy wouldn’t fit on the Thingomatic’s build platform.
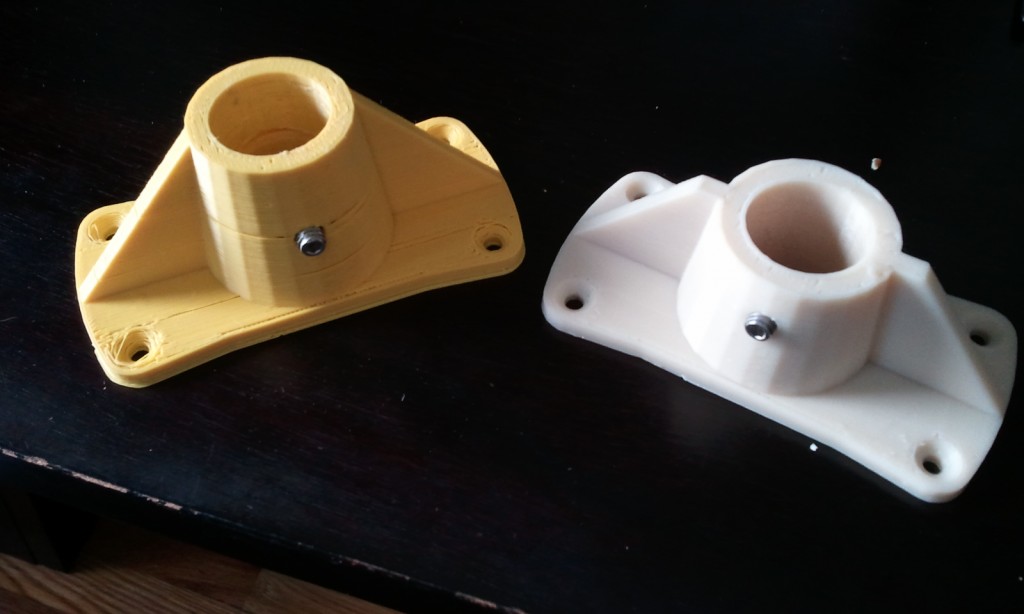
It turns out that I had to go with the smaller one. “Smaller.” Each bracket was was still a 3 hour print. It would have been faster if I hadn’t done 100% fill, but these are load bearing so I didn’t want to take any chances.
I’m not all that happy with the print quality, but they should be fine. I did the white one first, and about 2.5 hours in I accidentally disconnected usb, stopping the print. oh well. The next day I printed the yellow one. I used yellow because we were almost out of white and I didn’t think I’d have enough. The plastic wasn’t flowing as well with the yellow. I probably should have used a different temperature, but again, on a 3 hour print you just let it go.
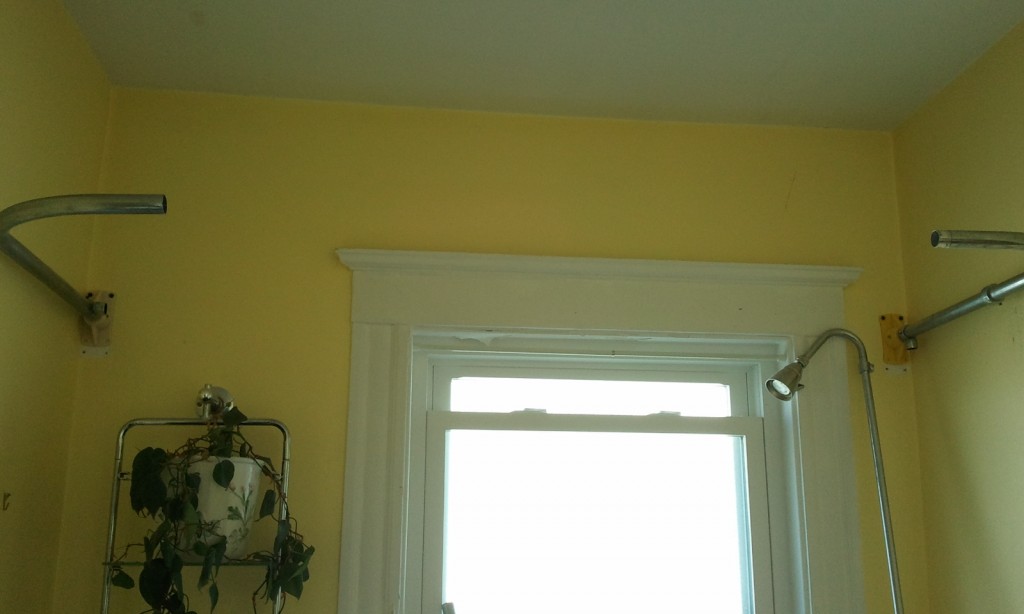
All in all I’m really happy in the “problem solved” department. I’m not going to be doing pull-ups off this thing any time soon, but I’m pretty sure that the brackets will be the last thing to break if this ever comes down again.

