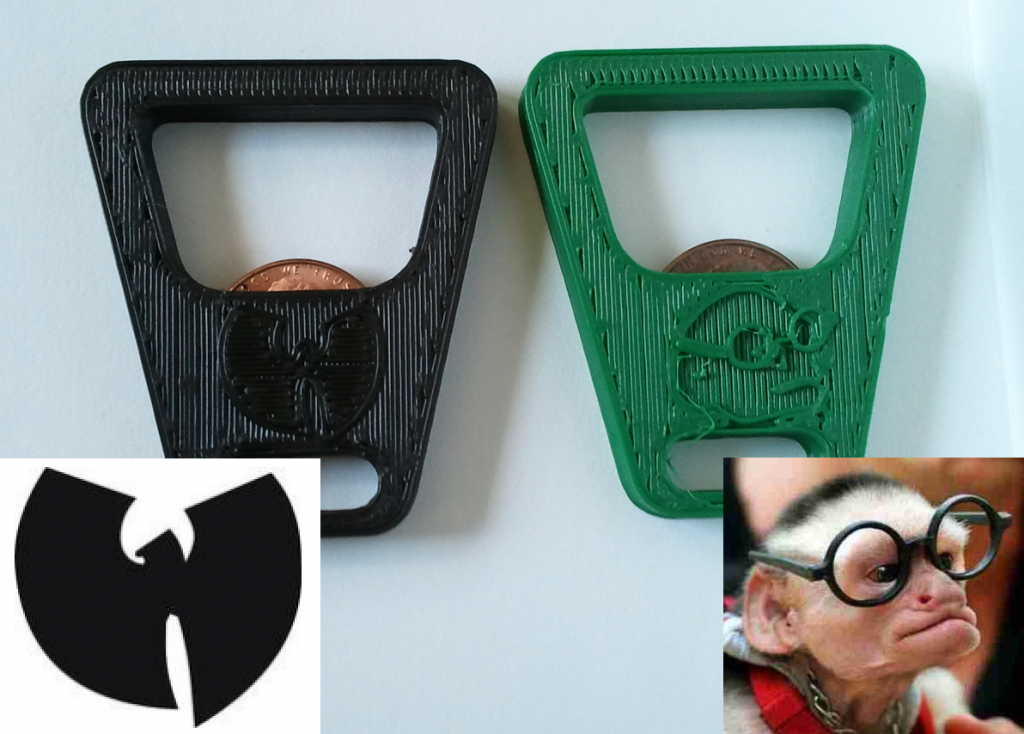
I recently posted an improved bottle opener design to Thingiverse. Unlike the mighty bottle opener, this is one that I’m proud to give out, and people are happy to receive.
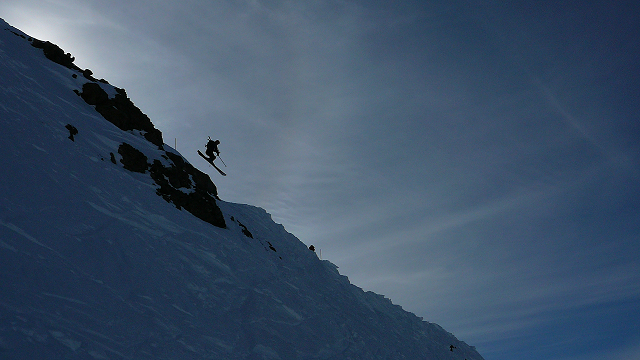
Because I did the model in OpenSCAD, it turns out to be really easy to create personal, one-of-a-kind gifts for my friends. In this post I’ll go through the steps I took to make an opener for my friend deWit. He skis, and he’s pretty good:
Ok, maybe he’s really good. Anyway, this has been my favorite skiing picture since it was taken a few years back. I thought it might be nice to capture some of this awesomeness in opener form.
Step 1: Get the image into Inkscape

The first thing I did was use the Windows snipping tool to copy into Inkscape just the section I wanted.
Step 2: Trace

Using the Bezier tool I then created a rough outline of what I wanted to print. This was going on a pretty small area, so I couldn’t get that much detail. Also important to note, I only used straight lines. No splines; they don’t seem to work in the upcoming steps.
Step 3: Save as DXF

Having served its purpose, I deleted the image to leave just the outline. I then saved the file as a DXF into my OpenSCAD directory.
Step 4: Import into OpenSCAD
This was the only painful part. Getting the DXF into OpenSCAD is a simple matter of calling the linear_extrude function. The problem is that the scale, position, and rotation of theDXF were way off. As a result I also needed to add scale, rotate, and translate commands to get the DXF stuff into place.
The code selected in the image above moves the part by [-89,86,thickness], rotates it 90 degrees, and scales by 70% on the x and y axes.
Once I was happy with the placement I exported to STL and moved over to ReplicatorG.
Step 5: Check the GCODE
Just because I drew this outline didn’t mean that that’s exactly what would get printed by the Makerbot. We’re working with a 0.5mm stream here, and some details may have been lost. Luckily you can visualize the gcode before the part gets printed.
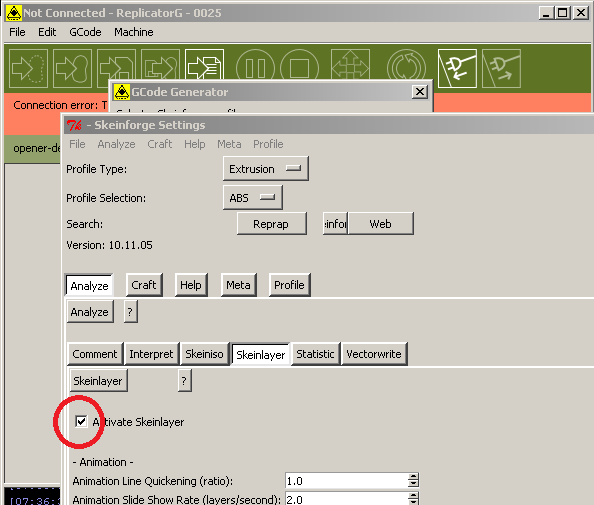
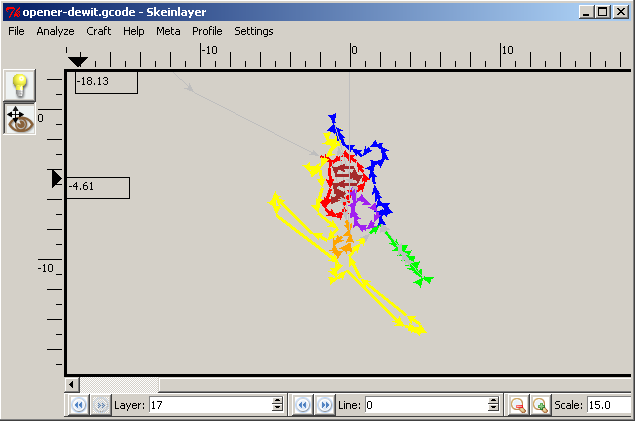
In the Skeinforge profile, I made sure that SkeinLayer was turned on. This brings up a tool path visualization after the gcode is generated. Going to the last layer showed me the tool path I was interested in:
So here we can see that I lost some important detail. The ski-poles and backpack straps are missing. Time to tweak!
Step 6: Tweak
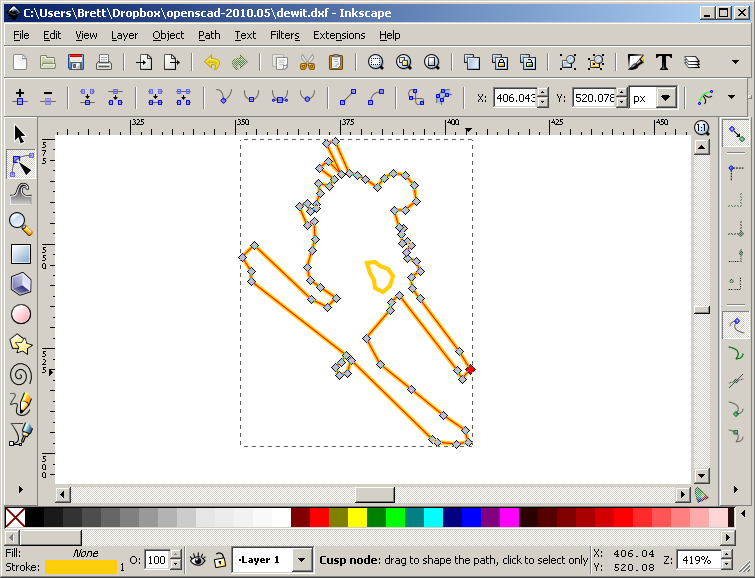
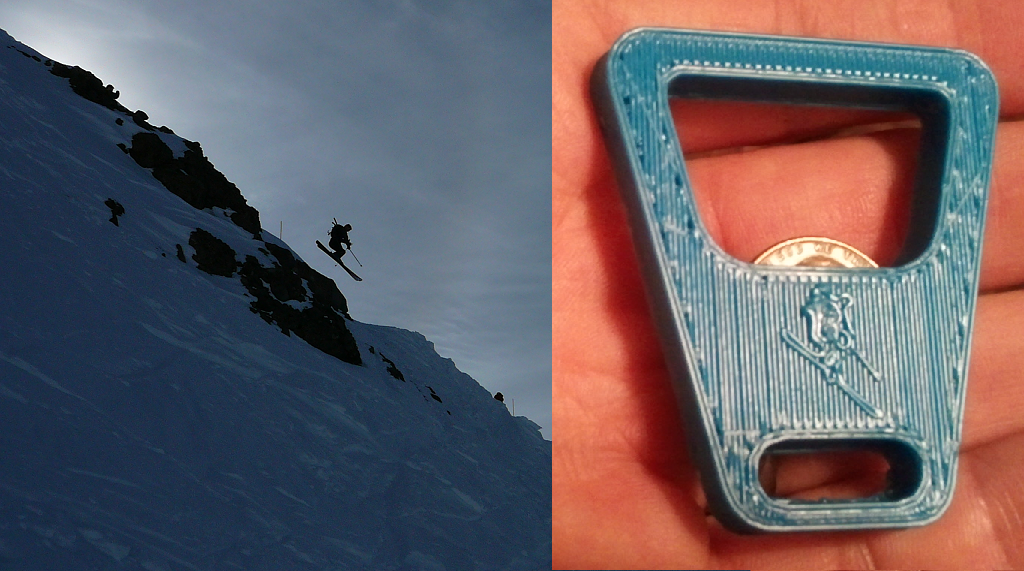
When I traced out the poles and straps I made them too thin. As a result Skeinforge just ignored them. By editing the nodes on my path I was able to make the tin spots a little thicker. I then repeated steps 3-5 and was rewarded with this:
Step 7: Print!
Aaaand done. Pretty cool right? Maybe not as cool as hucking air off the wall at Kirkwood, but I’m pretty happy with the results. As you can see the detail is pretty poor, but that’s the nature of the medium and the size of the canvas.
This one is really pushing the limit of what you can fit into that tiny space. Here’s two more that I did that might give you a better idea of what can be accomplished if you choose an image that doesn’t require as much detail:
I’ve been having a lot of fun making these. It’s feels great to be able to give an inexpensive gift that’s personal and useful.

