Holy Crap I Made Cheese

July 2nd, 2009

done

That’s right. Cheese. I was surprised by how easy it was.  It was just a simple farmer’s cheese, but still.  Making cheese is one of those things you just assume is impossible; for professionals only.  Turns out people have been making it for a long time, with tools far cruder than what we have today.  Who knew?

This could probably be an Instructable, but I’m not an expert, and I’d hate to inadvertently lead someone astray.  This is what worked for me, your results may vary.

So let’s get down to it.  I used this recipe / procedure.  Other than grossly over-specifying the amount of salt needed, it was easy to follow and gave good results.

Step 1: Heat the Milk

pre-addition

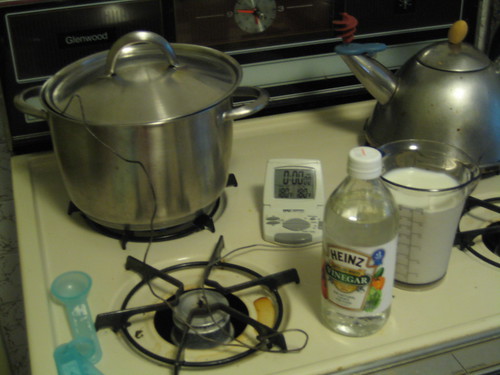
The recipe says something like “Slowly heat” until “about 180,” stirring “often.” I approached these statements with the meticulousness of an engineer doing something for the first time. First of all… ABOUT 180? No way. Digital thermometer. As far as slowly, I put the stove on low, and got a heat rate of 5-10 degrees/min. I rounded out the overkill trio by deciding to stir every 20 degrees. I’ve since made cheese again, have been more lax, and it still came out fine. (I still use the thermometer though.)

Step 2: Curdle the Milk

curds

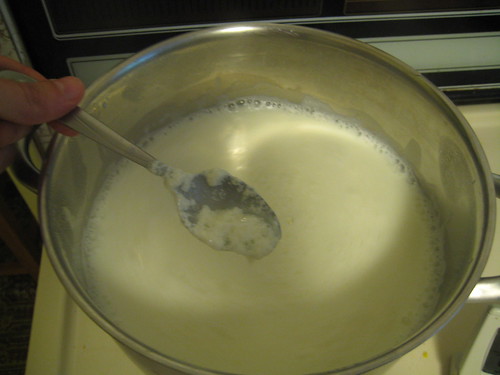
Once the milk was at temperature, buttermilk and vinegar were added. Lowering the pH of the system causes the solids in the milk to want to separate. I think. This will happen at any temperature, but it’s amazing how quickly it starts when you’re at 180 degrees.
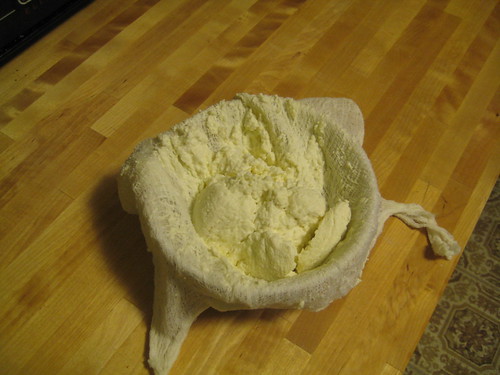
Step 3: Strain

cheese clothdrain1
drain3drain4

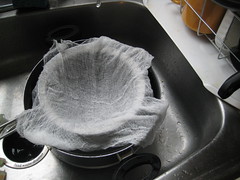
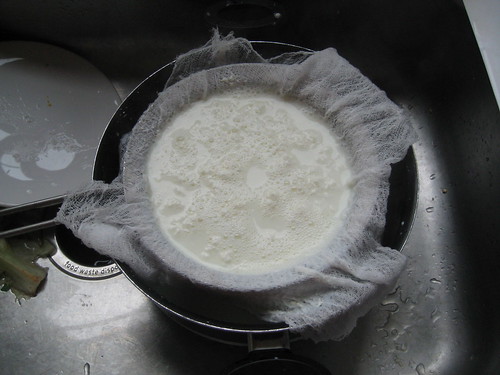
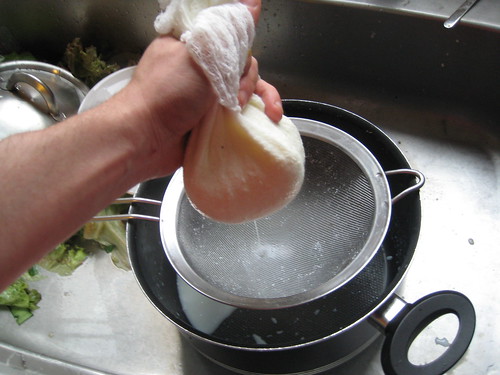
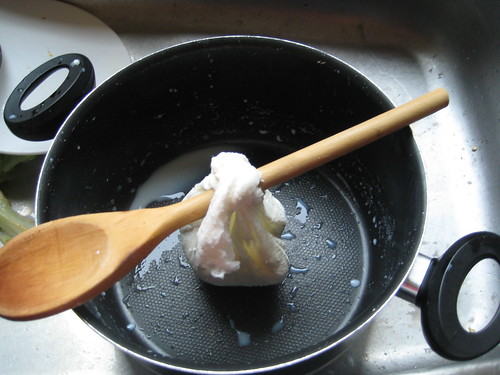
After about 10 minutes, it’s assumed that all the solids that are going to curdle have curdled. Time to get them out of there! Using cheese cloth and a strainer (for support,) I was able to keep the curds and dump the whey. Yes. Curds and whey. This is where that comes from. Why Miss Muffet would want to eat whey is beyond me. The curds are tasty though.

Step 4: ENJOY

enjoy

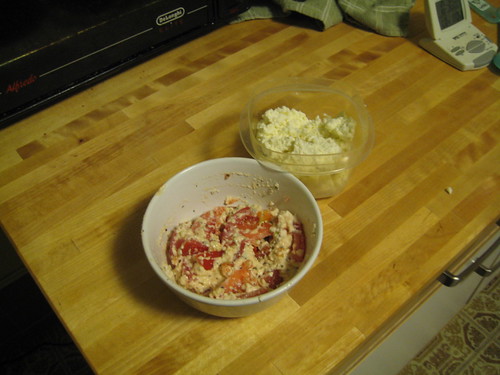
The last step is to salt to taste. I used 1/4 tsp. That’s it. Serve in the recipe of your choice. In the picture above it’s mixed with tomato, olive oil and basil. Delicious. It also works really well in mashed potatoes. The cheese apparently lasts for 5 days in the fridge, but it’s been gone after two days both the times that I’ve made it. 

I can’t stress how easy this was.  While it takes around 1:30 from start to finish, more than an hour of that is time where you can do something else.  Totally worth it! 

The next step for me is to make “real” cheese.  That means renet, and aging. At least I think that’s what it means.

flattr this!

A Robot that makes things!

June 24th, 2009

There was an immense amount of work that went into getting to this point, and I can only stake claim to a tiny portion of it. It was really cool to see our Makerbot throwing down the plastic… on the 20-30th try.

There were two main wrinkles. One we fixed, the other we lived with.

  • Getting the plastic to stick to the foam-core was hit or miss.  Covering the foam-core with double-sided tape created a much better surface.  We printed out 4 sets of tweezers without replacing the tape!
  • The issue we lived with was the extruder.  It’s not quite gripping the welding rod correctly yet, so we had to apply downward pressure manually. not that big of a deal for a 9 minute print, but it needs to be fixed before we print 4 shot-glasses on the same raft.  Man, if only most of us were members of a kickass hackerspace with access to machine tools.  Oh wait… we are.  Cool!

The other area just begging for improvement is the temperature control. Because the makerbot is using simple on-off control, we’re getting temperature swings of +/- 10 °C. The plan is to put in some data logging to see how bad the problem is, then implement progressively more complicated control strategies until we’re happy with it.

flattr this!

Arduino Reflow Toaster

June 14th, 2009

Reflow
Pic 1: Arduino Controlled Toaster-Oven. No, I have not tried making toast with it

The Mark 1 reflow toaster is complete! (“Mark 1” is another way of saying there’s a lot of work to be done.)

It can hold +/- 1 °F, which should be sufficient for surface mount electronics. I say “should be” because I haven’t soldered anything with it yet.

Construction:

Reflow-Mast
Pic 2: Termistor support mast

Temperature sensing is done by a thermistor. Simple solder connections and 20ga wire get the signal back to the Arduino. (UPDATE: the thermistor is wired at the Arduino using this method.) The wires are run through a copper tube, and everything is held in place with JB weld. This setup seems to work, even at temperatures that melt solder. I don’t know if that’s because the JB keeps the solder connections from melting, or if it holds the molten solder in place during run-time. Either way, I haven’t had any problems getting temperature readings.

On the heat side, an SSR is spliced directly into the 120V plug wire. This is not safe. The SSR is fine, but having exposed 120V dangling near the toaster is a recipe for bad times. In the mark 2 that will all be neatly enclosed.

The toaster’s intrinsic temperature control was left in place, turned all the way up to 500°F.  If everything is working correctly, it will stay out of the way.  If something goes wrong, the temperature will be prevented from rising without bound.

Temperature Control:

I decided to use the Arduino PID Library to control the oven temperature. I think it works really well, but I’m a little biased.

Reflow_OnOff_vs_PID
Pic 3: Temperature control: On-Off vs PID. On-Off is easier, while PID provides tighter control with a more stable output

The easiest way to control temperature would be to use on-off control: “If I’m too cold, turn on. if I’m too hot, turn off.” I tried that first. As you can see in the picture above, it does a decent job. The oven temperature (red line) stays within 5 °F of where we want to be (green line.) This is probably fine in this application. The one questionable thing is the output. Since it’s cycling between full on and full off, there might be some extra thermal shock to the system.

On-Off control is probably fine, but as I said, I’m biased. I decided to implement pid control. As you can see, it does a better job of staying where we want to be. Instead of 5 degrees, now the temperature stays within 1 degree. Also, since the output is essentially constant, there’s a better chance that there will be a uniform temperature gradient in the oven.

The extra effort probably wasn’t necessary, but I still think it’s pretty cool.

Next Steps

  • I think the termistor may be in a bad location.  I wanted it to be really close to the workpiece, so I put it directly underneath where the workpiece would go.  it seems that when there’s a piece in place, it actually changes how heat flows in that area, and the temperature reading is almost 20 degrees higher.  I’ll need to see if this adversely impacts reflow…  once I actually reflow something.
  • I may need to upgrade to a convection toaster to get more uniform temperature distribution
  • currently I’m adjusting setpoints and watching progress using the PID frontend.  it would be nice to move that functionality onto the arduino. maybe an LCD and some buttons…
  • It might be cool to have a pre-programmed setpoint profile that the oven can cycle through

flattr this!

Graphical Front-End for the Arduino PID Library

May 30th, 2009

PID_FrontEnd_Explained

The first (extreme beta) version of the PID Front-End is up on the pid library page. It makes adjusting an Arduino PID much, much easier. The download includes the processing sketch (of course.) It also has an Arduino sketch showing how to send/receive on that end.

Links:
Download UPDATE: Download
PID Library Page
Arduino Forum Thread

flattr this!

Baby’s first blog

May 26th, 2009

So I’ve been dragged kicking and screaming into… well, 2003.  I’m still not too fond of the blog idea, but it was either this or manually do RSS.  laziness wins!

What this blog is:  A simple way to make project updates available through RSS.  I may add some superficial “I just went to makerfaire” posts sometime in the future, but for now it’s projects, projects, projects.

What this blog isn’t:  no politics,  no imho, no rotfl.  There’s enough opinion on the internet, thank you very much.

flattr this!