Arduino PID Autotune Library

January 28th, 2012

At long last, I’ve released an Autotune Library to compliment the Arduino PID Library. When I released the current version of the PID Library, I did an insanely extensive series of posts to get people comfortable with what was going on inside.

While not nearly as in-depth, that’s the goal of this post. I’ll explain what the Autotune Library is trying to accomplish, and how it goes about its business.
Read the rest of this entry »

flattr this!

Collapsible Knitting Needle

January 22nd, 2012

I needed a break. I’ve been working hard on the osPID for several months, and I just needed to not look at code or control algorithms for a little bit. Nothing says “break” like an out-of-left-field project.


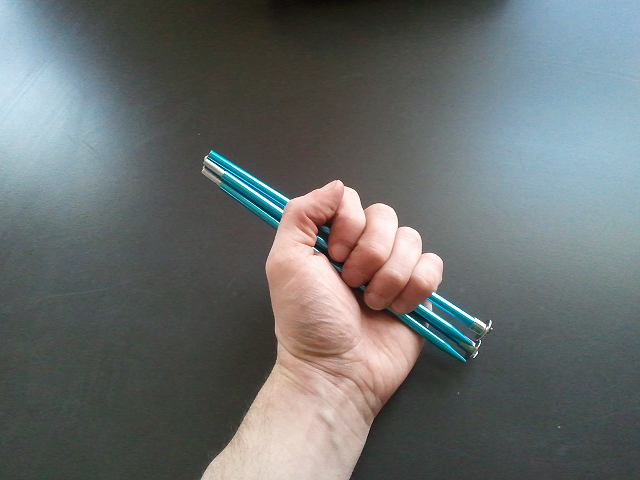
I only started knitting recently. Something that’s been bothering me about it is the length of the needles. They’re 14″ long, and I’ve been worried they’ll be bent while riding in my backpack.

It occurred to me that some sort of collapsible needle might be useful in this situation. Taking my inspiration from elastic tent poles, I got to work on my “not PID” project.
Read the rest of this entry »

flattr this!

PID-Controlled Espresso Machine [PID Showcase]

January 16th, 2012

It is to my great delight that I can confirm that this Kick-ass, Kickstarting, Open Source Espresso Machine is using the Arduino PID Library.

They seem to be using a stand-alone commercial pid controller for at least some of the control. Perhaps this could be replaced with an osPID for a 100% open experience?

flattr this!

Introducing the osPID

January 3rd, 2012

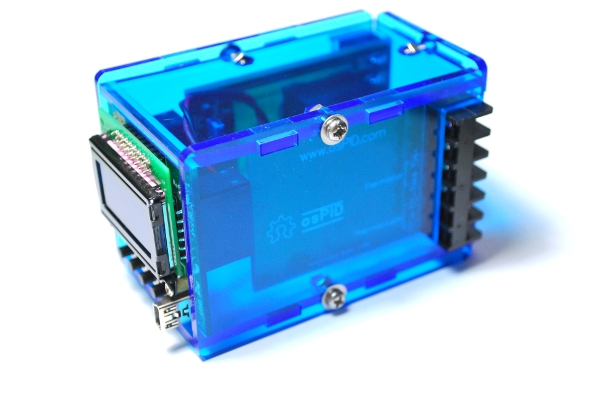
About 5 months ago I sent an out-of-the-blue email to RocketScream electronics asking if they wanted to help me build an open source PID controller. It’s been far more challenging than I expected, but today I get to announce the release of my first open source hardware project: the osPID!

(pause for applause)

Read the rest of this entry »

flattr this!

PID Library moved to GitHub

December 14th, 2011

As per the request by the Arduino Team, I’ve moved the Arduino PID Library to GitHub. I’ve also used this opportunity to:

  • Make the Library Arduino 1.0 compliant
  • Release the Library under a GPLv3 License

The google code site will still be there, but there will no longer be updates.

flattr this!

A Proper Multi-Color Print

October 16th, 2011

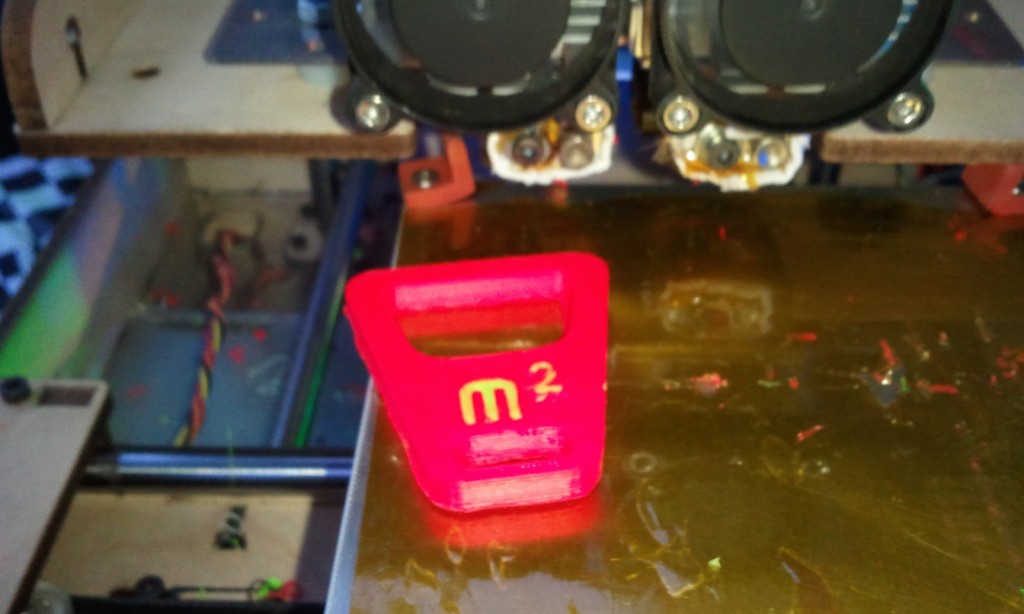
I’ve played around with printing multiple colors using a single extruder, but by and large all the multi-color action was restricted to a single layer. There’s a good reason for this: every color change takes time, and having 2 or more colors run throughout the part would require a color change ON EVERY LAYER.

But I had to try. I had a great idea: a fairly understated bottle opener with different color text embedded on each side. To the uninitiated it’s a neat little thing, but to people who know 3D printing its a: “wait, what? how did you do that?”

Well, here’s “how I did that.” It took a LOT of time. I didn’t call it “The Saturday Killer” for nothing.
Read the rest of this entry »

flattr this!

Three-Color 3D Print

September 30th, 2011

I’ve been making bottle openers for friends, and I recently struck upon the perfect design for my friend Matt. For some reason, he still pines for a hockey team that left our home state in 1997 (THEN won the Stanley Cup.) His opener got a Whalers Logo:
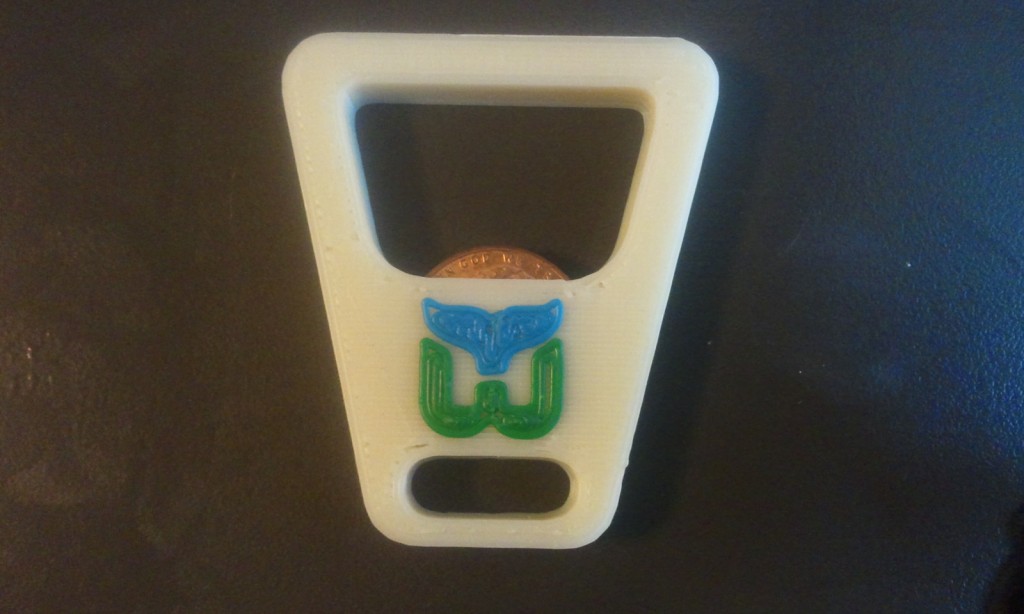
Up to this point, all my openers have been single color. But combine the fact that I’m jealous of the new dual extruder with the fact that Matt was my Best Man, and I decided that this time I would go the extra mile.

The procedure was straight-forward, and a huge pain in the butt:

  • First I printed a blank opener in the base color
  • Then I adjusted the Z-Height of the Thingomatic by 5.76mm (the height of the opener base)
  • When I switched the color to blue and printed the tail, the printer deposited the plastic on the white base as if it were the build platform
  • After switching colors AGAIN, I printed the W and the opener was done

This was a fairly simple multi-color design, but by breaking up the model ahead of time, this technique could be used for any part.

flattr this!

Maker Faire

September 18th, 2011

My first Maker Faire… where do I start? I could go on and on about the standard stuff: amazing projects, amazing people, etc, but here’s 3 things that I think capture the essence of my experience.

  • I walk into the paella line on friday to hear Jimmie Rodgers say “…and there he is!” He’s talking with the Lower East Kitchen people, who use the PID library in their sous-vide kit. We wind up having a conversation over dinner that somehow winds up at plasma physics.
  • I get to see the dual extruder thingomatic for the first time. The next morning on the train to the Faire I design a two color version of the pocket coin-op bottle opener. They take my design – the second 2-color part to be user-submitted to thingiverse – and print the hell out of it.
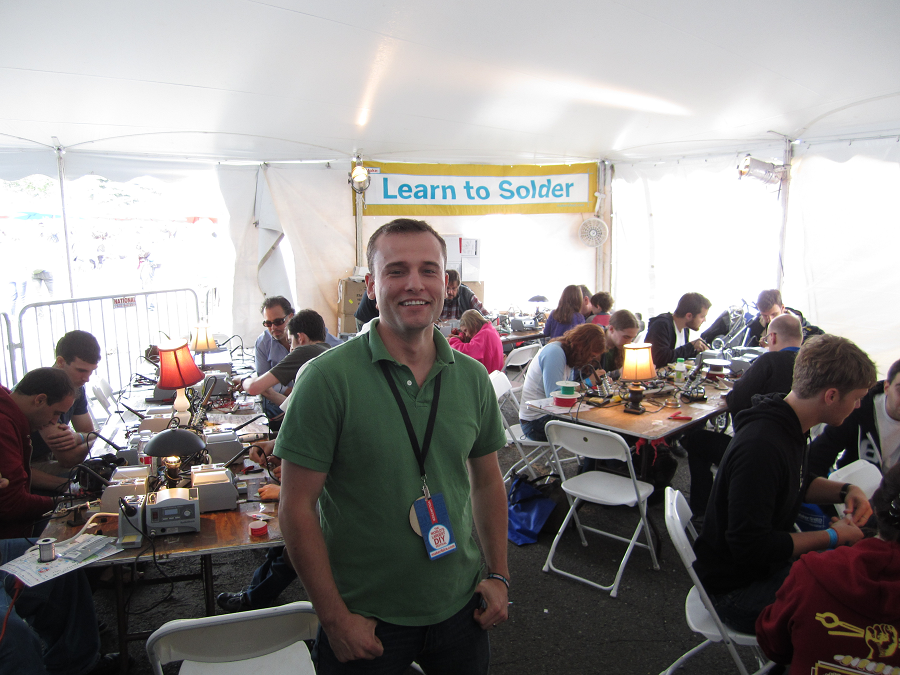
  • While volunteering in the soldering area, I ask a group of people if they need help with their Brush Bots. There’s a tricky little step where you’re supposed to tape the the battery leads to the motor. A girl in the group, maybe 11 years old, tells me that they don’t need help; she has found a much better way to do it. And it is better: forehead-smack better. I have her teach another volunteer the technique, and when I come back 2 hours later everyone is doing it her way.

As you can imagine, I thoroughly enjoyed myself. I will definitely be doing this again.

flattr this!

A Little Teaser

September 15th, 2011

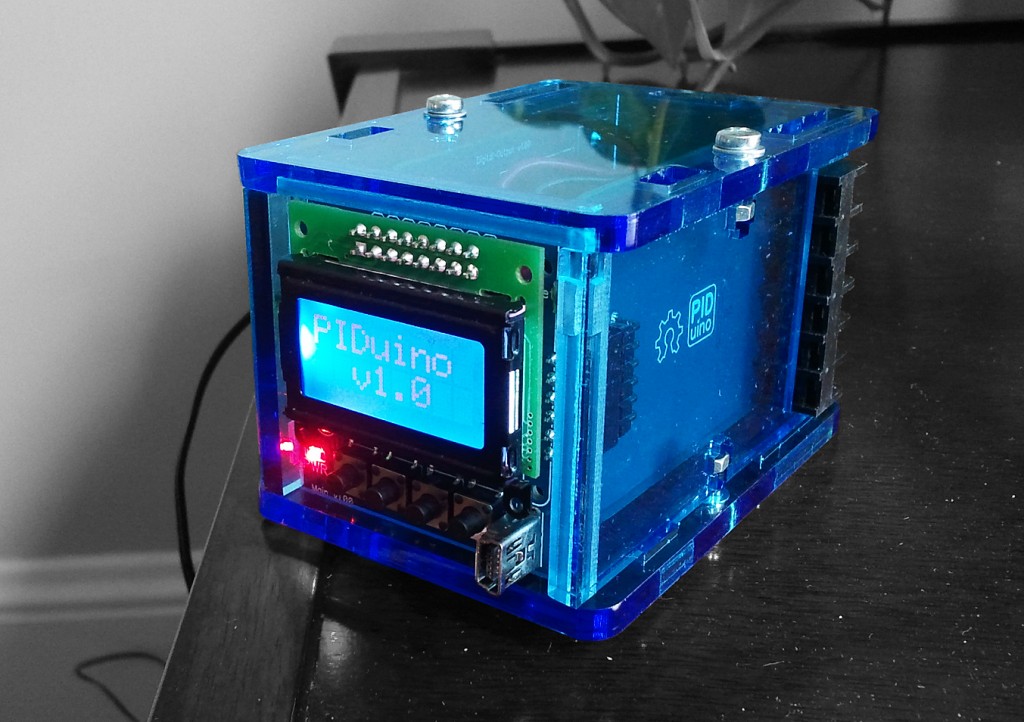
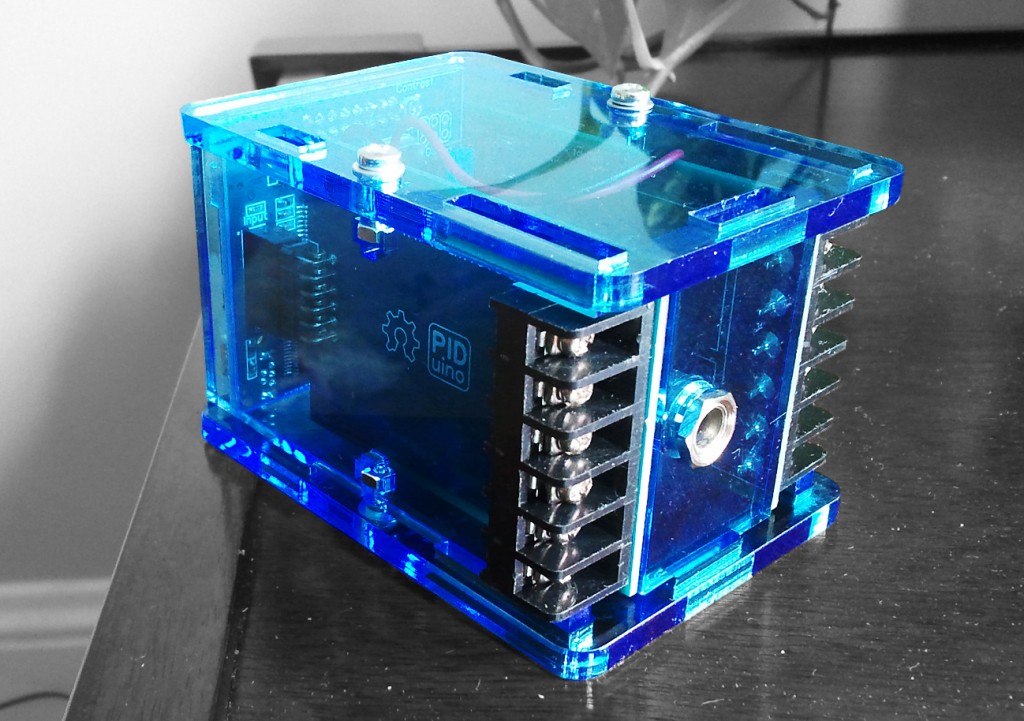
I haven’t done many PID posts in the last couple months. Rest assured I haven’t been sleeping on that front. I’ve been working closely with RocketScream on an OSHW project that should be released soon. Here are a couple teaser pictures to (hopefully) get you drooling.

As I post this I’m on my way to Makerfaire NYC. I’ll have this with me if you’d like a closer look.

flattr this!

Making a Custom Bottle Opener

September 3rd, 2011

I recently posted an improved bottle opener design to Thingiverse. Unlike the mighty bottle opener, this is one that I’m proud to give out, and people are happy to receive.

Because I did the model in OpenSCAD, it turns out to be really easy to create personal, one-of-a-kind gifts for my friends. In this post I’ll go through the steps I took to make an opener for my friend deWit. He skis, and he’s pretty good:

Ok, maybe he’s really good. Anyway, this has been my favorite skiing picture since it was taken a few years back. I thought it might be nice to capture some of this awesomeness in opener form.
Read the rest of this entry »

flattr this!