3D Printing Home Improvement

I’ve lived in my house for 2 years now. 2 weeks after we moved in, someone who shall remain nameless turned our 2 bathroom house into a 1.5 bath.

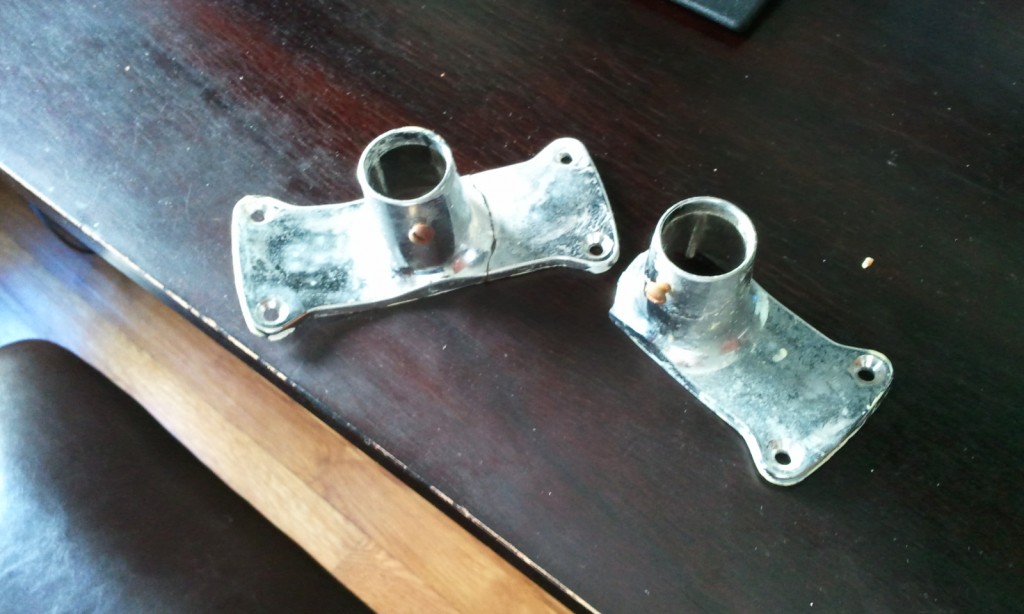
They were cleaning the bathroom (that’s how you know it wasn’t me.) While leaning on the D-Shaped shower curtain rod for support, the whole thing came down. Come to find out the support brackets were woefully inadequate.

“I should really do something about that…” but we only really NEEDED one shower, and you can’t buy the brackets separately, so I did nothing. I wasn’t going to spend $100 for a shower we’d never use.
Continue reading

Posted in Mechanical, Projects | Tagged | Comments Off on 3D Printing Home Improvement

Sousvide-O-Mator [PID Showcase]

Sous-vide BabyTop

There have been many sous vide projects floating around the tubes recently. The one I’m showcasing here was first brought to my attention by the Adafruit blog. I found out from the developer that he was in the midst of a full write-up, so I held off on posting. Now that the write-up is done, we can see that he’s put together an impressive little project.

Great documentation, excellent implementation of the PID Library, delicious, delicious meat? What’s not to love? I’m also looking forward to subsequent posts, where he promises to show “how to calibrate the beast :)”

Posted in PID, Showcase | Tagged , | Comments Off on Sousvide-O-Mator [PID Showcase]

When a Maker Gets Married


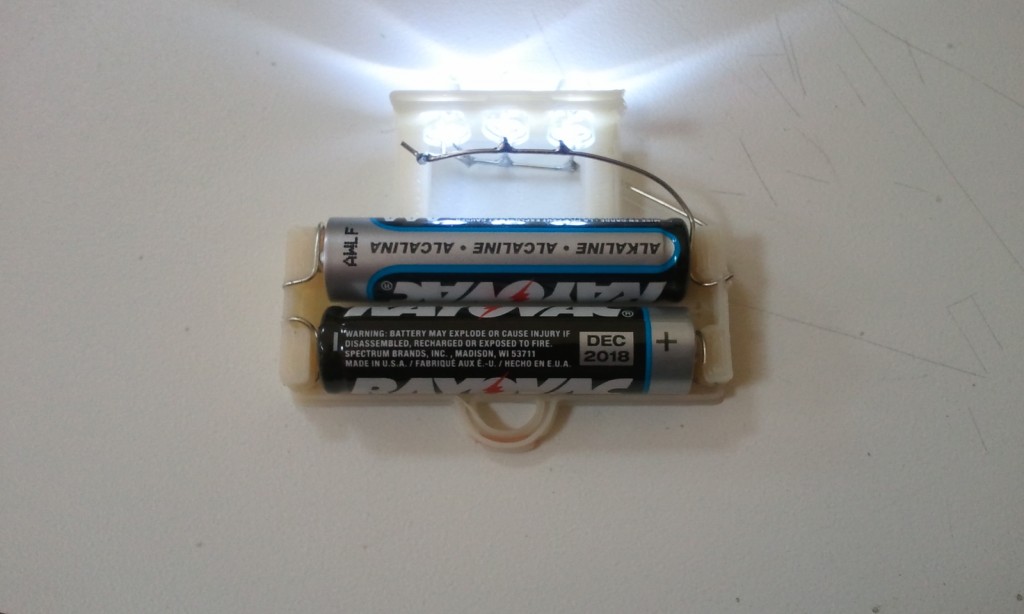
I got married a couple of weeks ago. We did all the planning / decoration ourselves. By we, or course, I mean my wife. One of the things she wanted to do was have paper lanterns suspended above the tables.

The initial plan was to use throwies, but I felt they wouldn’t give as much light as a commercial 3 LED solution. This led me to a fun, albeit time consuming project.
Continue reading

Posted in Craft, Electronic, Projects | Tagged | 4 Comments

PID: When Should I Compute the Integral Term?

Recently there was a suggestion posted to the Beginner’s PID Series. The contention was that if you solve things in the Laplace domain, it specifies a different way of executing the Integral Term. Rather than looking at the sum of error for THIS point, the commenter suggested, you should look at the sum from the last point.

So the current code is this:

      /*Compute all the working error variables*/
	  double input = *myInput;
      double error = *mySetpoint - input;
      ITerm+= (ki * error);
      if(ITerm > outMax) ITerm= outMax;
      else if(ITerm < outMin) ITerm= outMin;
      double dInput = (input - lastInput);
 
      /*Compute PID Output*/
      double output = kp * error + ITerm- kd * dInput;

and the suggestion was this:

      /*Compute all the working error variables*/
	  double input = *myInput;
      double error = *mySetpoint - input;

      double dInput = (input - lastInput);
 
      /*Compute PID Output*/
      double output = kp * error + ITerm- kd * dInput;
      
	  ITerm+= (ki * error);
      if(ITerm > outMax) ITerm= outMax;
      else if(ITerm < outMin) ITerm= outMin;

I had never seen it done this way, but I figured I’d give it a shot. The test I devised was a simple setpoint step, followed by a ramp down.
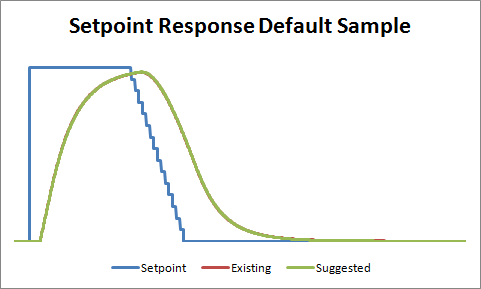
With the controller set at the default sample time, the difference was imperceptible. To try and highlight the difference between the two methods, I decided to bump up the PID sample time from the default of 100mS to 5 seconds.

Ok so here we can see a clear winner. The existing PID code performs better than suggested, probably because the integral term gets to react to process changes 5 seconds sooner. But just to make sure I wasn’t missing anything, I decided to do another test. Instead of a setpoint change, I induced a load change in the system.

Once again, the existing PID code performed better, handling the load change more quickly.

So the verdict? While this was a fun excersize, I think the results are clear. I’ll leave the code as it is.

Posted in Coding, PID | 2 Comments

Reflow Oven Shield [PID Showcase]

The reason I created the PID library was to make it easier for people to integrate PID control into their projects. Surprisingly, it’s actually happening! I’m starting to see a lot of really cool implementations out there. As a result, I’ve decided to start a new category of post: the PID Showcase. These are projects that make me feel that all that work was worth it.

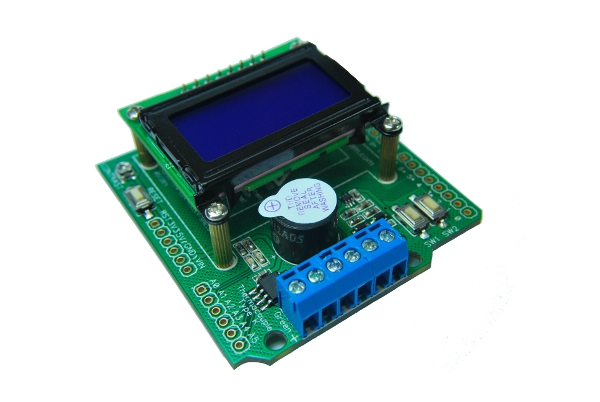
So… here’s the first one: the Reflow Oven Controller Shield from RocketScream.com
Reflow Oven Sheild

It integrates all the components necessary to turn a toaster oven into a reflow oven. Thermocouple Chip… LCD… buzzer… awesome. But the part that I love is how they completely owned the PID part of this project. Look at this reflow curve:

reflow

They made use of setpoint ramping to get the heating rates just right. The output is phenomenal. This came out of a toaster oven:

wow

Excellent work!

Posted in PID, Showcase | Tagged , | 1 Comment

Mighty Bottle Opener

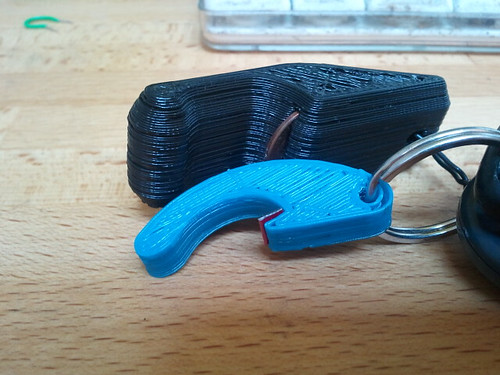
I’ve been wanting something printable that I could carry around with me, especially after this Colbert Report thing. I finally settled on designing a bottle opener: something I could show off.

Mighty Opener

There’s already a bottle opener you can print, and it works really really well. Unfortunately it’s the size of a small moon, so you can’t really carry it with you everywhere. The reason it’s so big is because it uses a penny to bear the load. You need to have something metal to save the plastic, and a coin is an ingenious, albeit large, solution.

To make the opener smaller the coin would have to go. Using a bottle cap came to me almost immediately, but finding the correct implementation took some time. The Coin-Op uses the coin to support the full load, and initially that’s what I tried to do with a folded over cap. Things improved greatly when I discovered that ABS is strong enough to lift a cap, it just needs a protective layer to keep it from being chewed up.

And thus the Mighty Bottle Opener was born! As you can see, naming things is not my forte. I was looking for something that would encompass everything great about this new opener I designed: It’s smaller, lighter, key-chainable, yet still really strong.
Continue reading

Posted in Mechanical | Tagged | Leave a comment

SketchUp to STL Plugin with No Dialogs


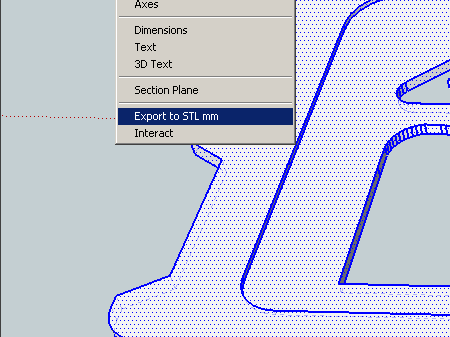
When designing parts for the Makerbot my tool of choice is Google SketchUp. I’m able to do this easily (and for free) due to the work of Nathan Bromham and Konrad Shroeder. Their skp_to_dxf plugin quickly exports my model into stl format, which can then be read by ReplicatorG.

One minor annoyance though. Every time I run the plugin I need to specify “Millimeters” and “STL”. I’ve been revising a lot of models lately; trying things out then checking the resulting tool path in skeinforge. Somewhere around the 20th time specifying the SAME THING, I decided to go into the plug-in code and just hard-set my options.

The result is my variant of the plugin, which I’ve labeled skp_to_Custom. I did almost nothing. I commented out the dialog code and instead included a section at the beginning of the code where you can hard-set your options. That’s it. But MAN has it saved me some aggravation.

Download

Posted in Projects | Tagged | 6 Comments

Laser-Cut Business Cards

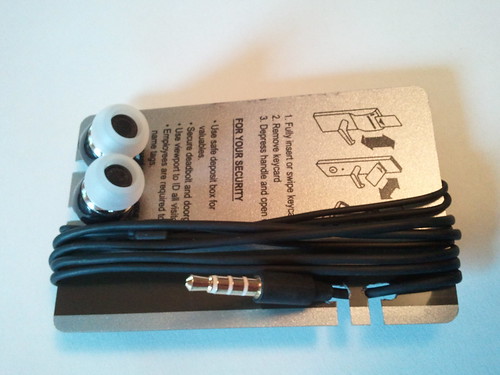
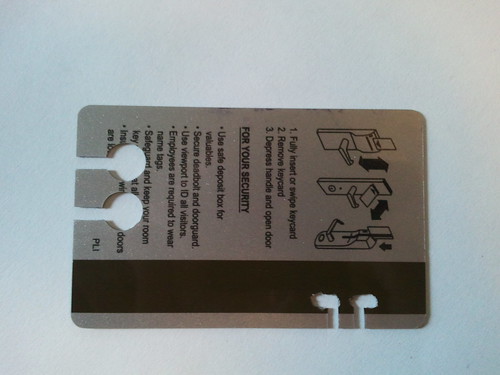
laser cut business cards
laser cut still wraps nicely

I’ve really been saturating the blog with ear-bud wrap posts lately. This should be the last one for a while. I decided to order some laser-cut copies of the earbud-wrap business card. They were a bit expensive, but I’ve been wanting to laser-cut something for some time. I went with 2-color acrylic, and I think they turned out really well.

Posted in Mechanical | Tagged | 5 Comments

Earbud-Wrap Business Card

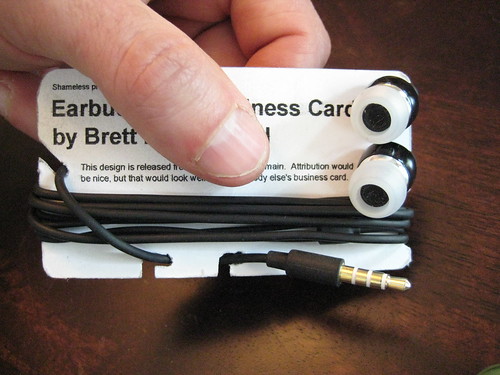
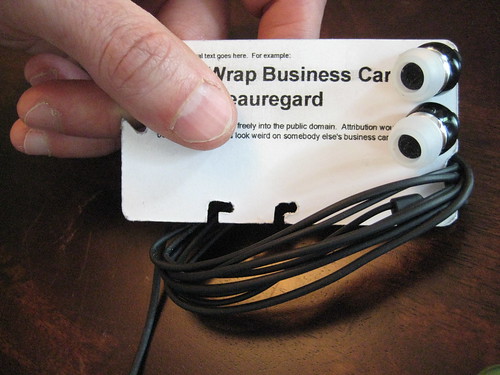
I made one last (for now) modification to my Credit Card Earbud Holder. The wrap now ends with an over-pass that really locks everything in place. As before, it’s insanely easy to remove the wrap.

Wrapped
Bundle slides right off
<2 Second Removal

The other thing I realized is that, if laser cut from thin plastic, this would make a really neat business card. I don’t really feel like paying for a laser-cut version at the moment, so I just printed out a shipping label to illustrate. If you DO feel like laser cutting this bad boy, I’ve uploaded the plans to Thingiverse. (The plans will also help you if you just want to make one out of an old card)

UPDATE: I got some of these laser cut. They look amazing.

Posted in Mechanical | Tagged | 2 Comments

My Take on the Credit Card Earbud Holder

Yesterday on Lifehacker they posted a forehead-smack idea. Take a credit card, cut it up a bit. You’re left with a free, light, earbud holder. I’ve got a bunch of old cards lying around, so I made one.

Bud Holder - Theirs

I Didn’t like it. My design grievances:

  • You wrap in the short direction, which means more wrapping to get the job done
  • Having the earbuds stored on either side means you need to put in each bud individually
  • It takes just as long to unwrap as it does to wrap

It needed some work to compete with my current method. The beauty of using cards is that they’re easy to work with and plentiful (in my house at least.) It only took about an hour (7-10 iterations) to settle on a winner. Meet my new earbud holder:

Bud Holder - Mine
Bud Holder - Mine

  • The earbud slots are wide and next to eachother, so you can get the buds in quickly with one motion
  • You wrap the long way, so you’re done in half the time
  • The way the plug is clipped ensures that the wrap stays put, but…
  • Because the wrap isn’t in channels, it slides right off once the plug is detached. WAY faster.

UPDATE: I went through a few more iterations and came up with an improved design.

Posted in Mechanical | Tagged | Comments Off on My Take on the Credit Card Earbud Holder